
DIY Aged Vessel Lamp
This post may contain affiliate links which means I may receive a commission for purchases made through links. Learn more on my Privacy Policy Page.
Aged pottery vessel lamps are staple pieces in transitional styling decorating right now. These one of a kind, beautifully crafted pieces bring style and artisan character to your home.
In this post, I’ll show you how to DIY your own aged pottery vessel lamp. This easy DIY is a great way to spruce up your space and add some character and found aesthetic to your decorating. Looking for more ways to take your space to the next level? Check out our 5 tips for elevating your space.
Let’s dive in to this DIY!
The key to getting this look right is finding the right lamps. When you’re browsing lamps at your local thrift or antique store, look for lamps that have the size and shape that you desire. If you’re purchasing these for a bedroom, then finding a matching set is an added bonus.
Full disclosure…
I actually started this project all the way back in January. Why the delay in finishing them? Once rewired, the base on my particular lamps gave me some trouble, so I put them aside until I had some time to problem solve a solution. Sooo, while my project took several months to finally wrap up, the project itself is really relatively straight-forward and simple, and can be completed over a weekend. I’ll show you how!
Materials:
Lamps
Spackling
Matte spray paint
Variolous chalk paint colors (the colors I used are linked below)
Lighting wiring kits and harps
Your favorite style of lamp shades
Additional supplies used:
Disposable gloves
Paper towels

Before

After
Process:
I love a good DIY Aged Vessel project and when I found these lamps at an antique store awhile back, I loved their size and quality and I knew they would be perfect for a little DIY refresh!
I started by de-constructing the lamps, removing the large wood base, and the old wiring and components.
Adding/Removing Texture:
These particular lamps had a pattern carved into them that didn’t fit the aesthetic I was going for, so I used spackling to fill in the unwanted pattern. I love this particular spackling product because it goes on pink and turns white when it's dry.
When applying the spackling, I used a generous amount to cover the patterned areas. On the first lamp, I noticed traces of the pattern after the spackling dried, so I was sure to apply a thicker coat on the second lamp.
I really liked the texture that the spackling gave the lamp, so I didn’t worry too much about smoothing it all out. If you desire a smoother finish, you can use fine grit sandpaper to smooth out spots where the lines from the spackling appear harsh.
Paint:
Once the spackling was dry, I covered the entire lamp with matte black spray paint. You could also use white spray paint, but I had black in my DIY stash, so I used this. Any brand of spray paint will work as long as the finish is matte. The matte finish will give the chalk paint something to stick to. Once the spray paint was dry, I applied my chalk paint to the vessel.
First, I painted the entire vessel in my lighter colored chalk paint because I wanted a softer color for the base. Then, I applied the darker chalk paint using a wet paper towel to give my vessels a natural look. To bring out even more character and an authentic aged appearance, I added my darkest paint color to a paint brush and applied it into the cracks and grooves, then used a paper towel to blot away any excess. I repeated this process until I was happy with the look.
Once the lamps were both dry, I coated them with a clear matte finish spray paint to protect the chalk paint.
Rewiring:
When purchasing a vintage or antique lamp, it is always a good idea to rewire the piece before use for safety. I opted for these black wiring component kits from Amazon. I then followed the instructions to re-wire my lamp properly.
The base (optional):
Okay, so the big hang up on my lamps, and the reason I kept putting them off, was the base. I decided to remove the large wooden base that originally came on the lamp for two reasons: 1) the style didn’t fit what I was going for and 2) these lamps were way too TALL!
The base added about 4 more inches to the overall height of the lamps, which in my opinion made them oddly tall. However, when I removed the wooden base, this meant that the vessel was resting on top of the cord, which made it sit unevenly and wobble on the table.
I originally entertained the idea of cutting a custom thin wood base to fish the cord through for a flush bottom, but I wasn’t sold on this idea, because this extra trimming still changed the overall design. I finally decided to cut a 1/4 inch groove into the bottom ridge of the vessel for the cord to rest using a dremel. This worked perfectly - it allowed just enough room for the cord to rest and the lamp to sit flush on the table, AND I was able to maintain the overall design.
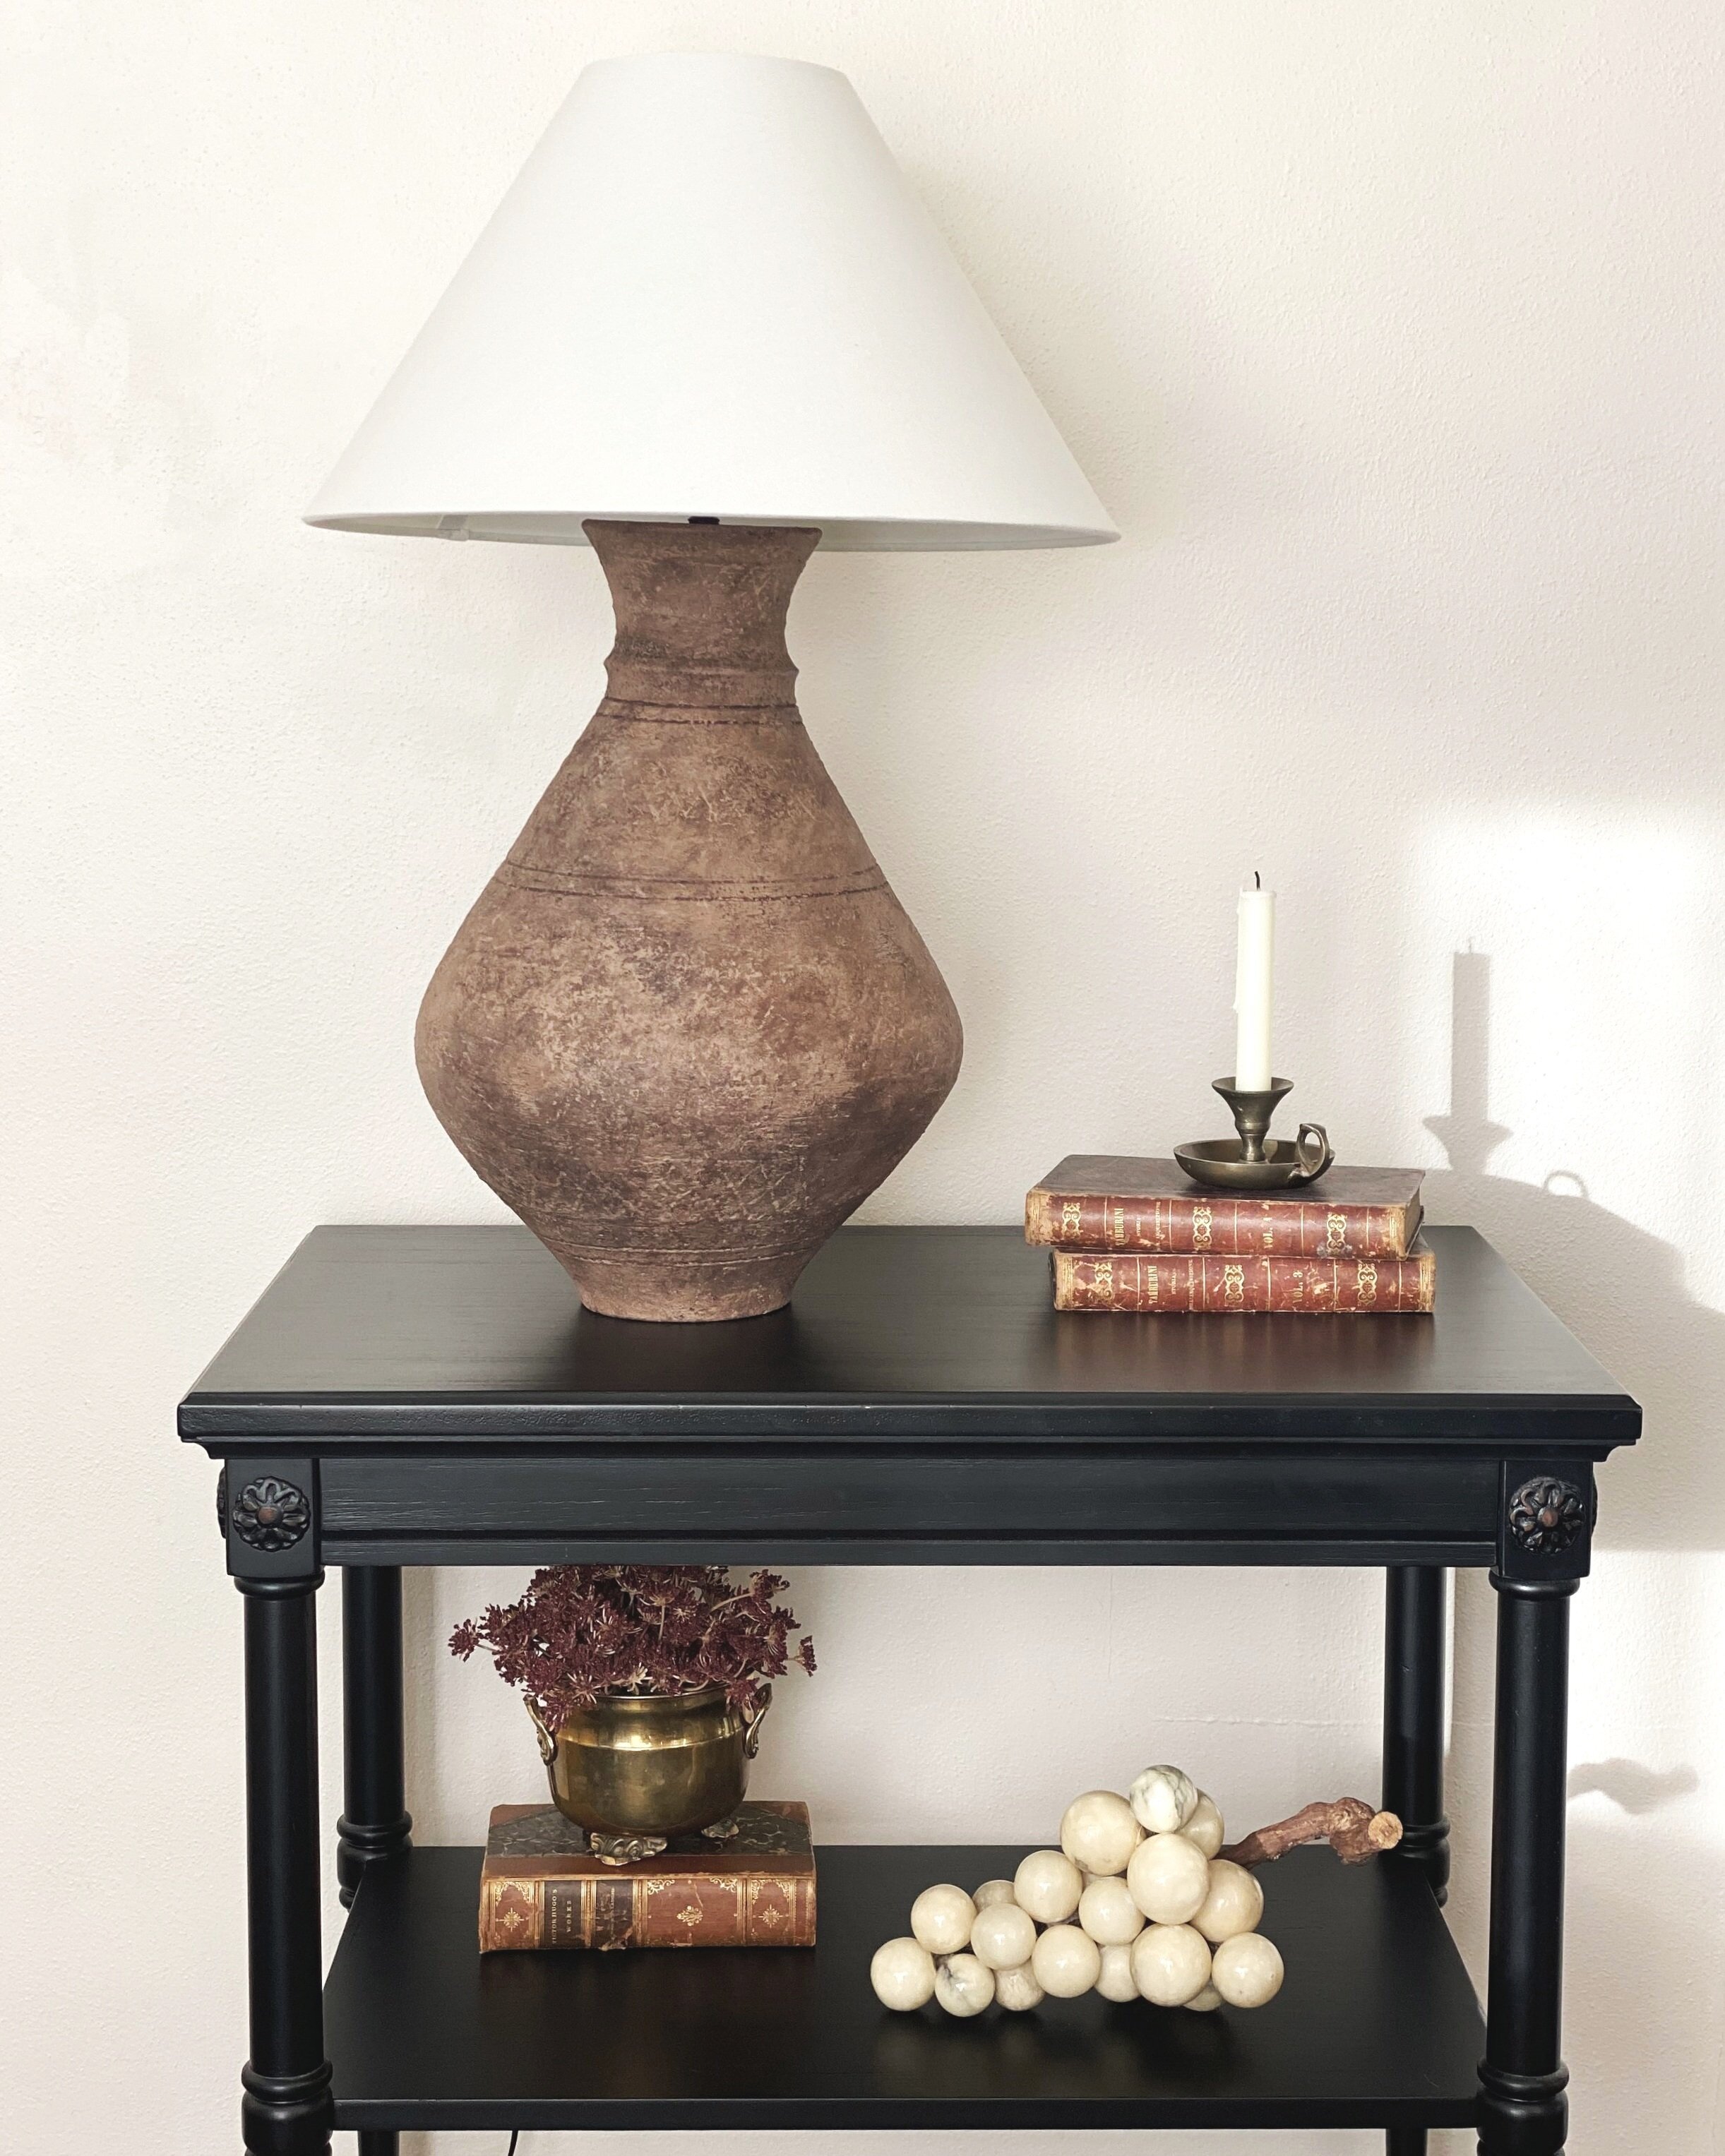
Finally, I added my favorite lamp shades and ta-da! I love how these chunky vessel lamps turned out!
Products Used:


