
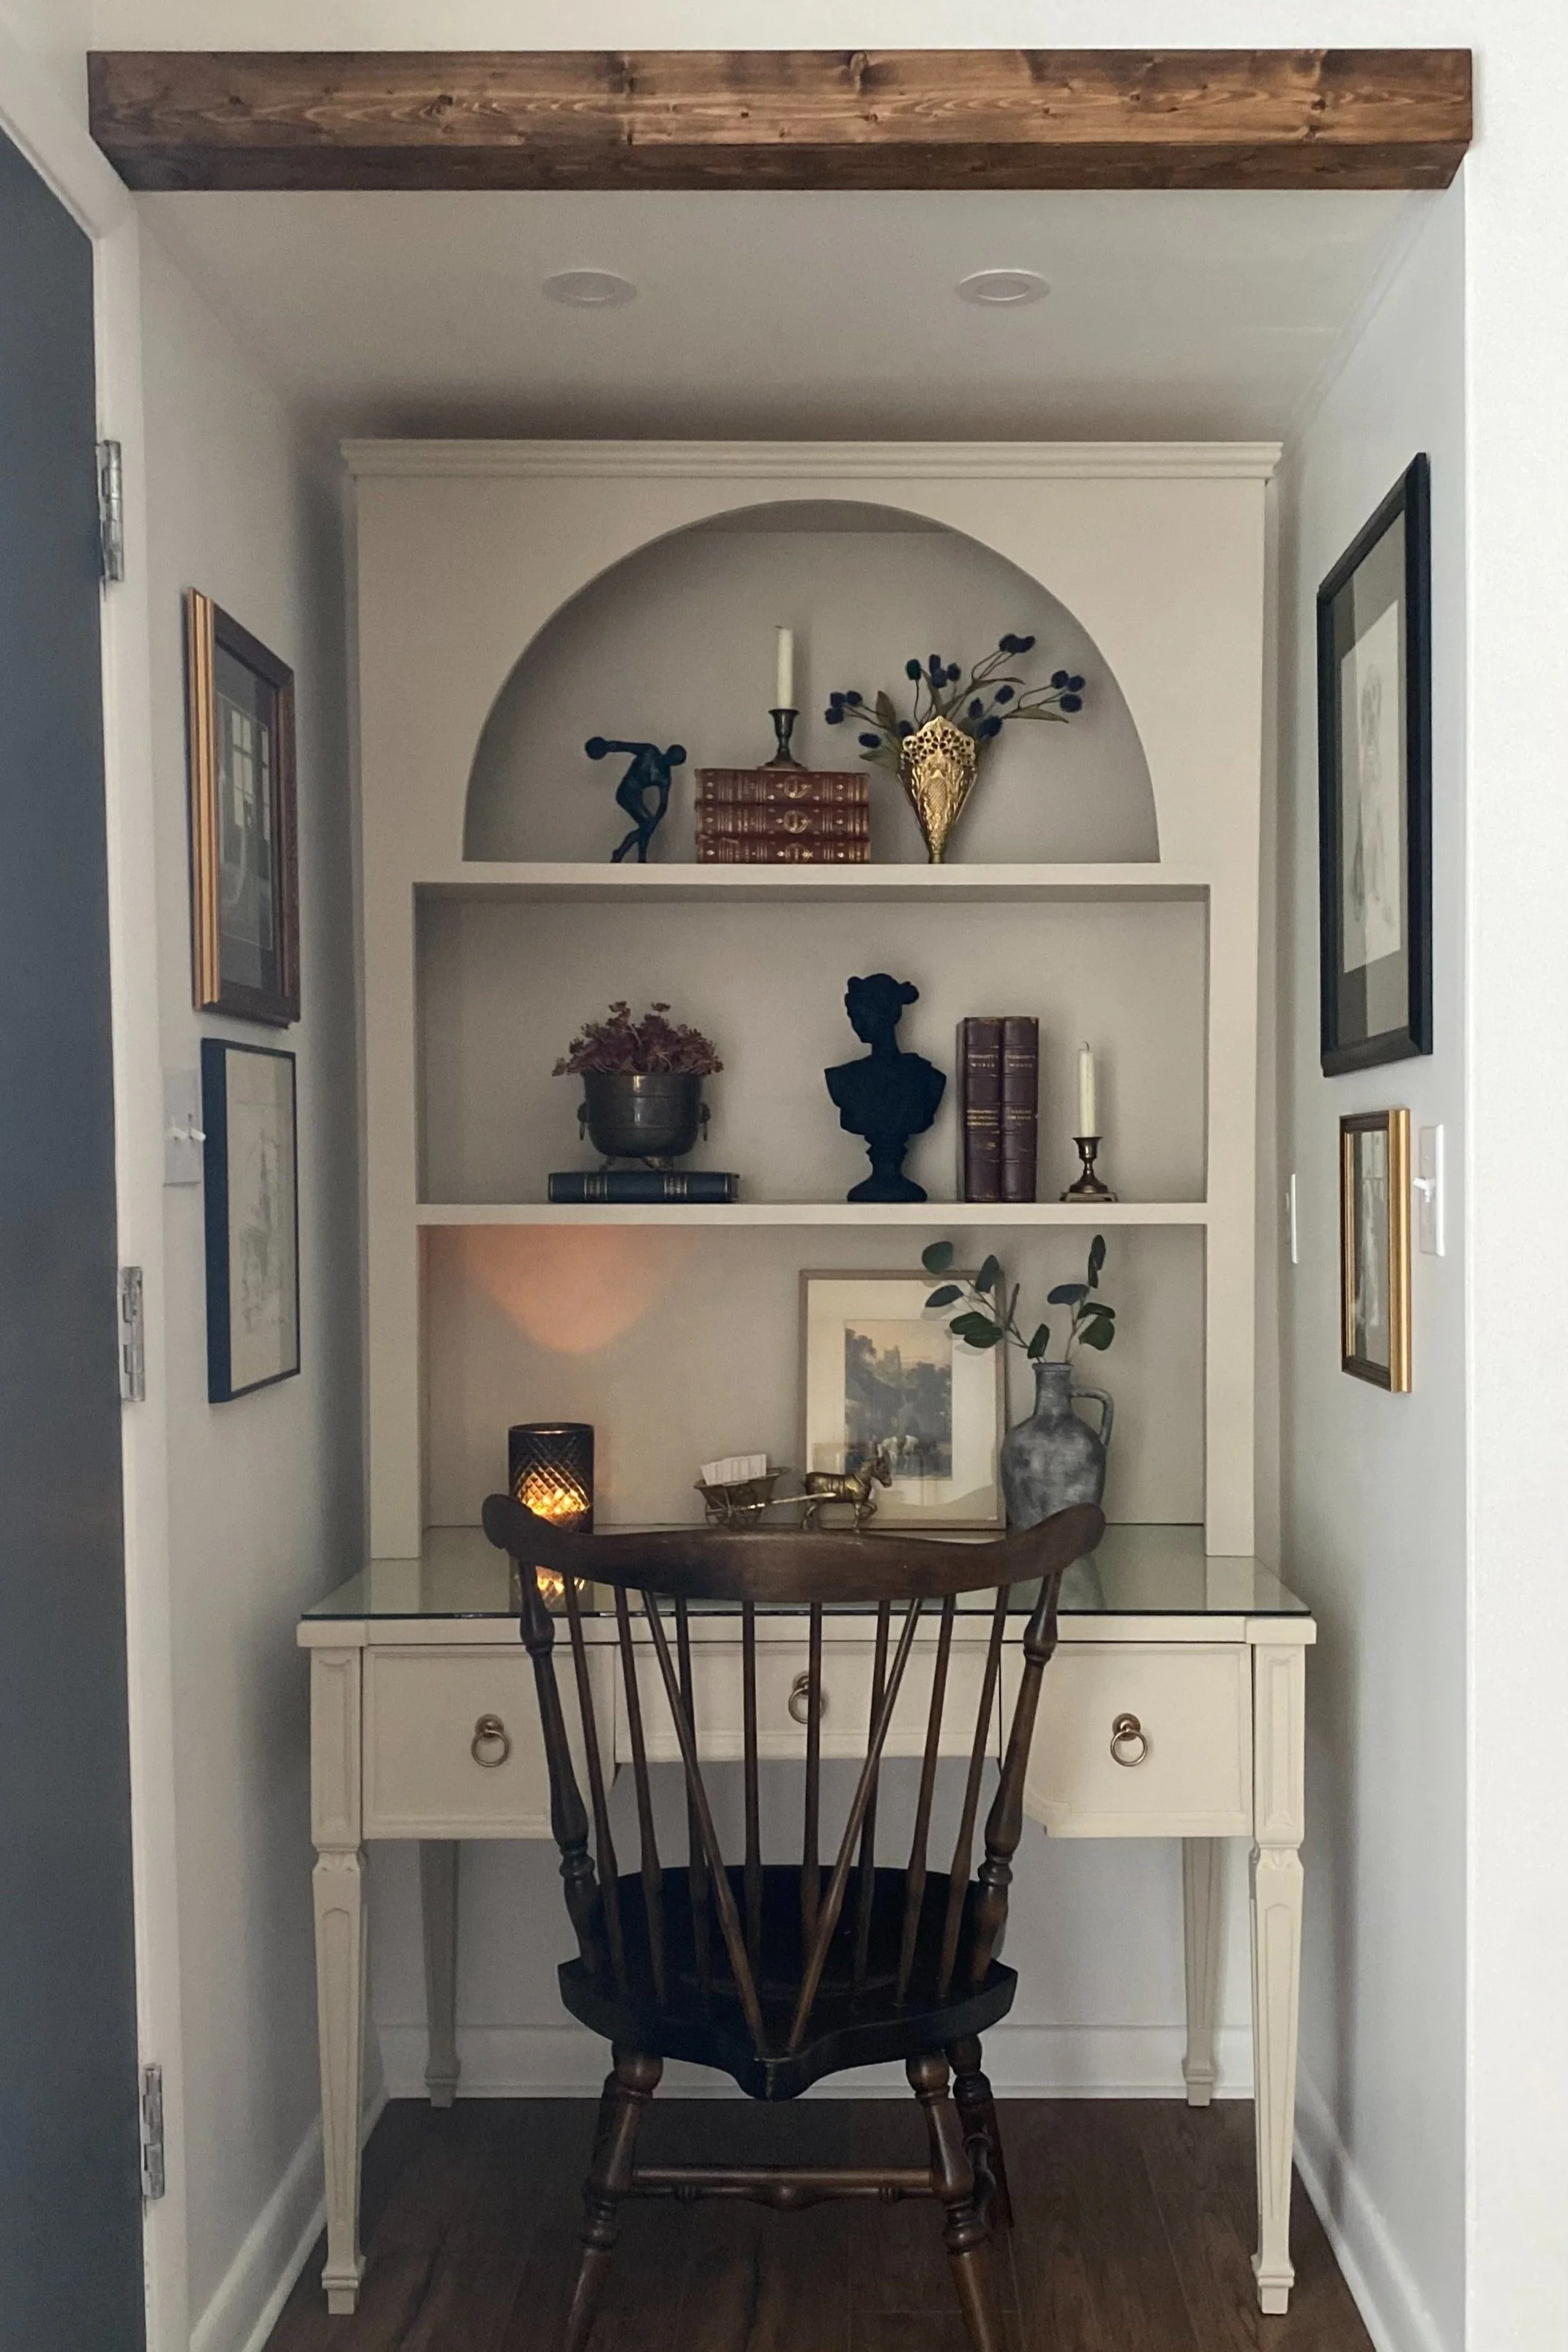
Office Nook Makeover with Custom Hutch
This post may contain affiliate links which means I may receive a commission for purchases made through links. Learn more on my Privacy Policy Page.
As I’ve gotten older, I’ve come to realize that there can be great value in really thinking through a room/space transformation before diving in. Living with things “as is” for a bit, allowing time for your needs to evolve, and really understanding how your family uses a particular space can save you time, money, and immense frustration in the long run.
This small nook to the right of our entryway has served several purposes over the years, but I have dreamt of redesigning this little space since moving into this house.
Not a great picture, but the only one I could find! This is a photo during our flooring reno after the carpet and laminate had already been taken out.
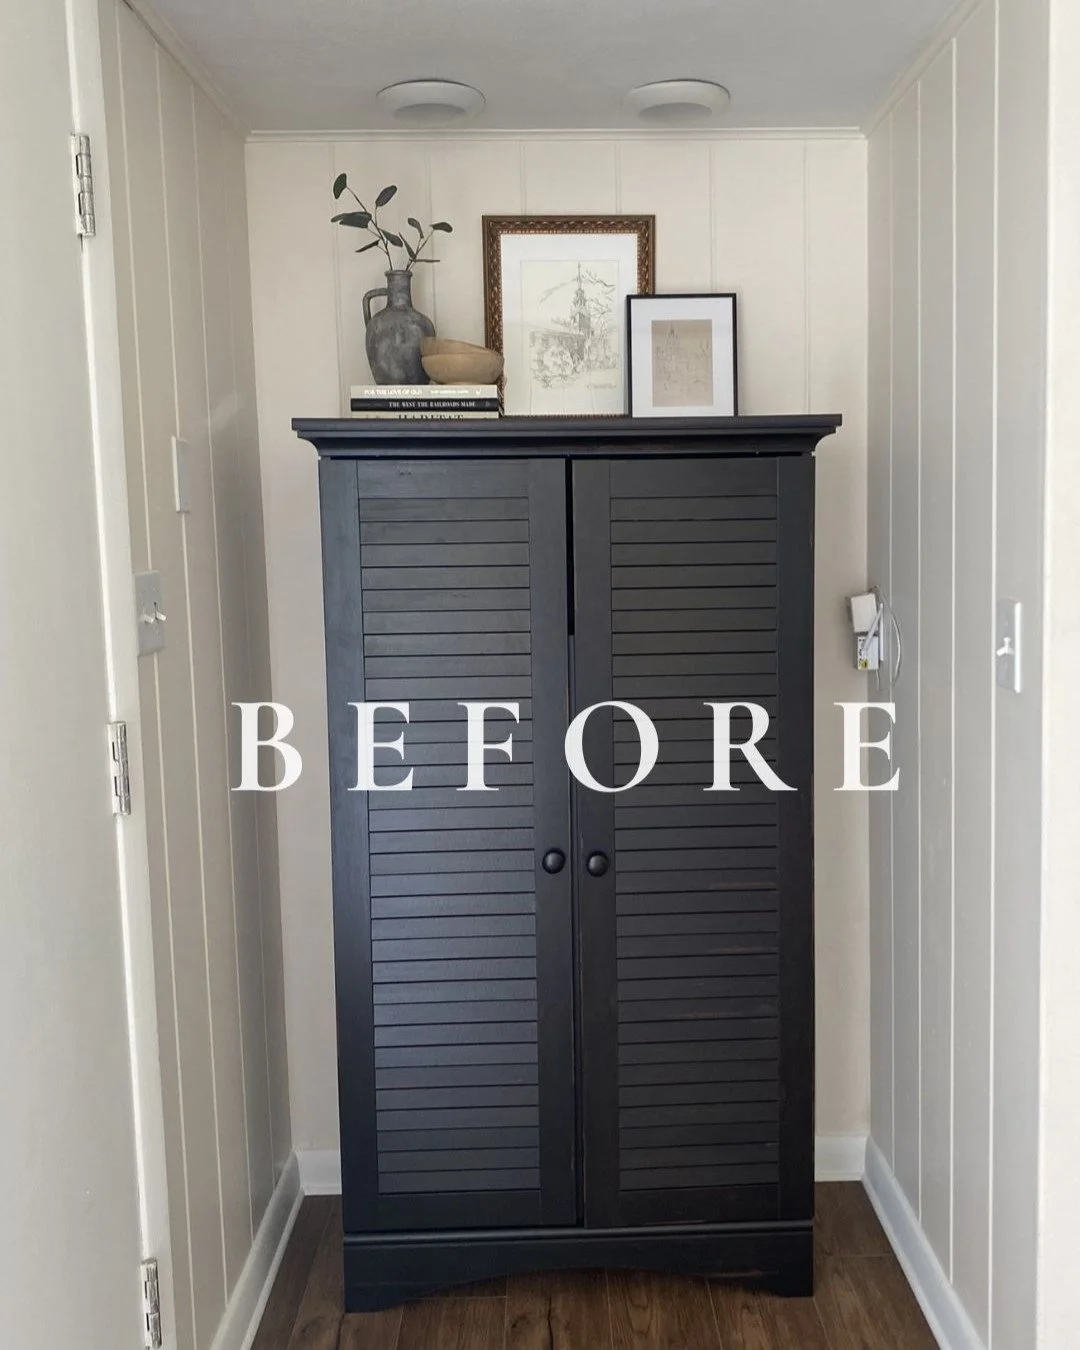
Photo after new flooring was installed and the storage cabinet was added.
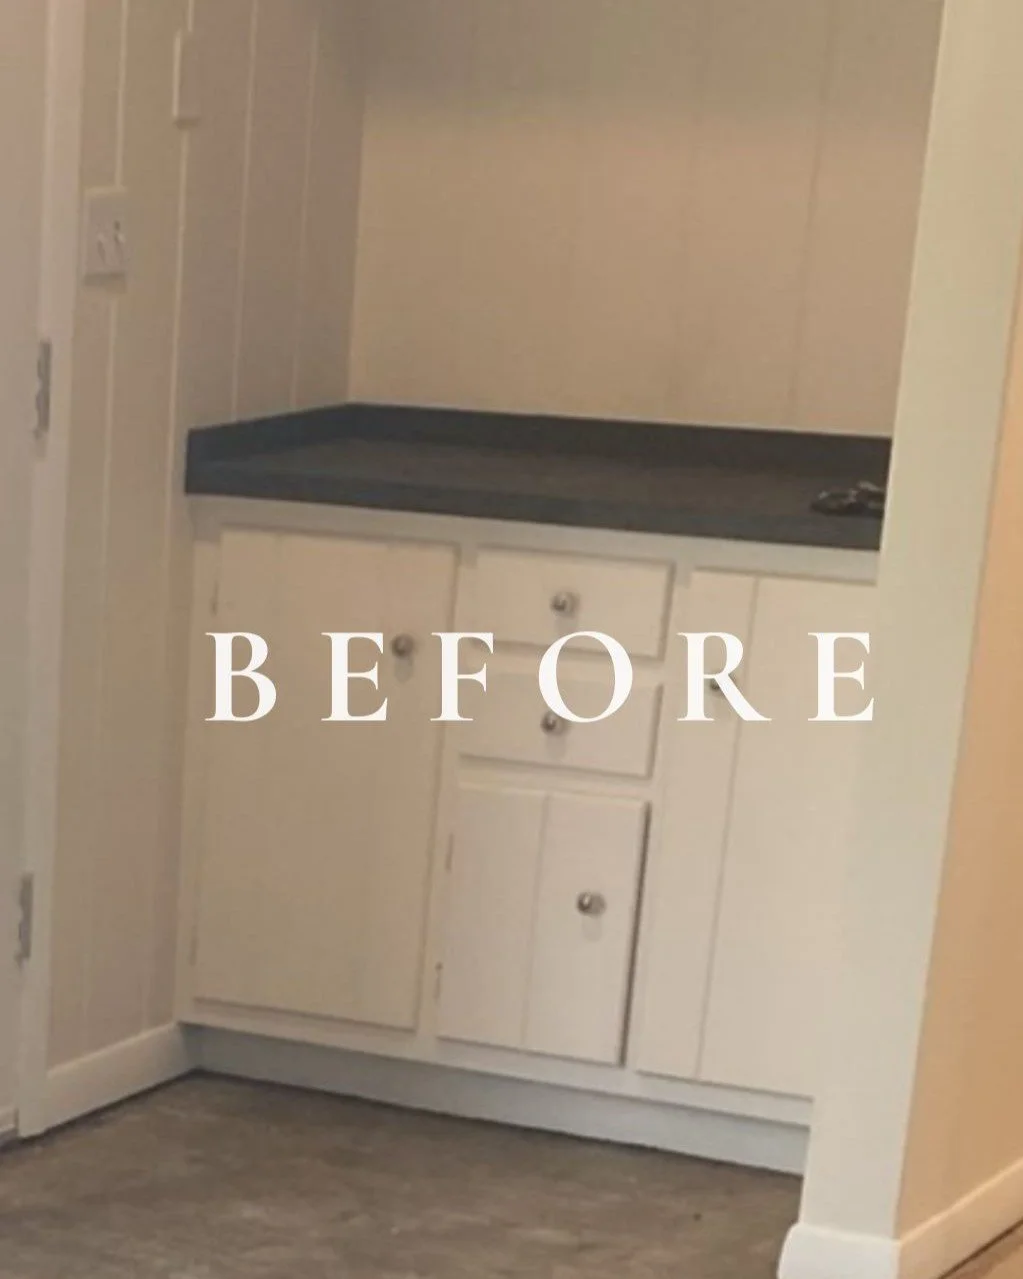
You can see in the photo above, that this little area originally had very outdated lower cabinets with a laminate counter top sitting on top - it was definitely giving bathroom vanity vibes! When we had new flooring installed a few years ago, we ripped this all out and added the black storage cabinet to the space.
Redefining the Space.
When I started running my business full time in 2023, our needs for some of the spaces in our home shifted. The black storage cabinet that once filled the nook moved into our spare room and became my cabinet to store office supplies and equipment for my business.
I also quickly realized that with so much of what I do involving working on the computer, I needed a designated space for office work, and this small nook in our living room became the perfect little corner to call my own.
The problem? This little corner was anything but inspiring, so it was time to give new life to this boring space!
Design Stage.
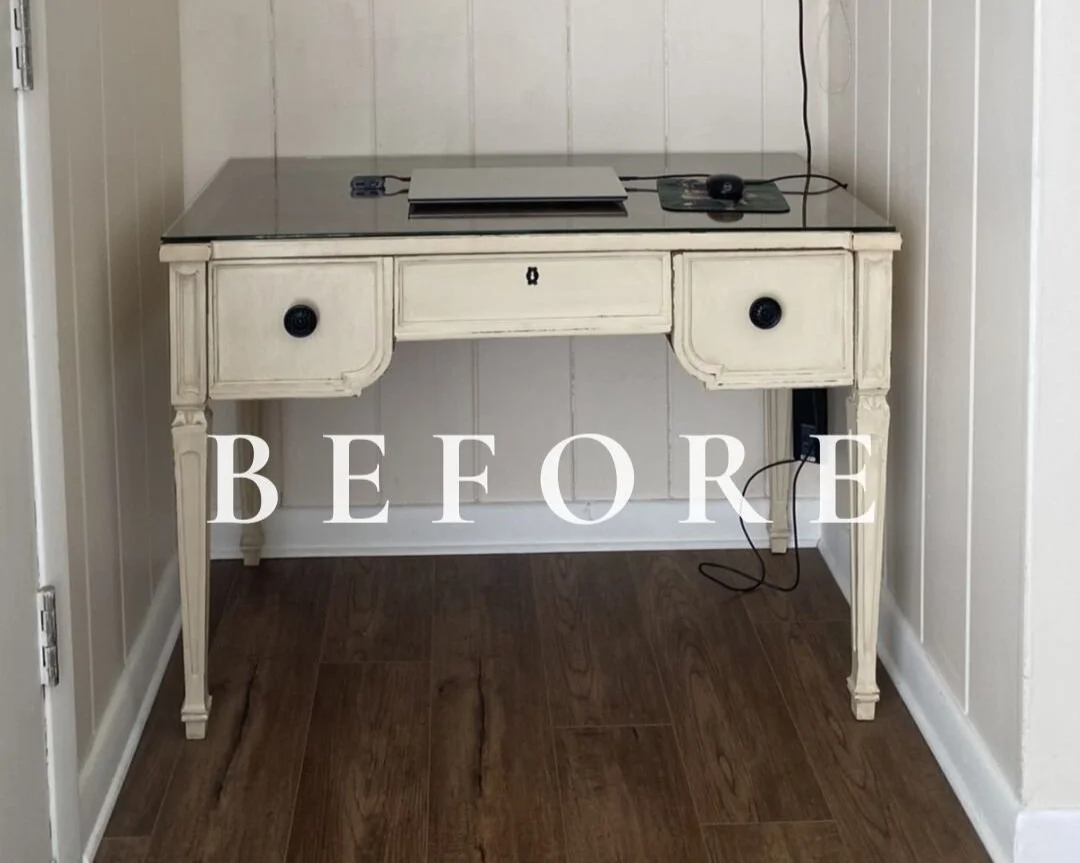
Vintage Desk.
Last summer on a sourcing trip, I found this vintage desk.
Though this desk had already been upcycled, the chippy paint and chunky hardware were just not for me - but, the shape and size of the desk was perfection and exactly what I envisioned for the space.
As a decorator, I believe in a balance of form and function - always! I love creating spaces for my clients and in my own home that are beautiful and intentional. This office nook was no exception.
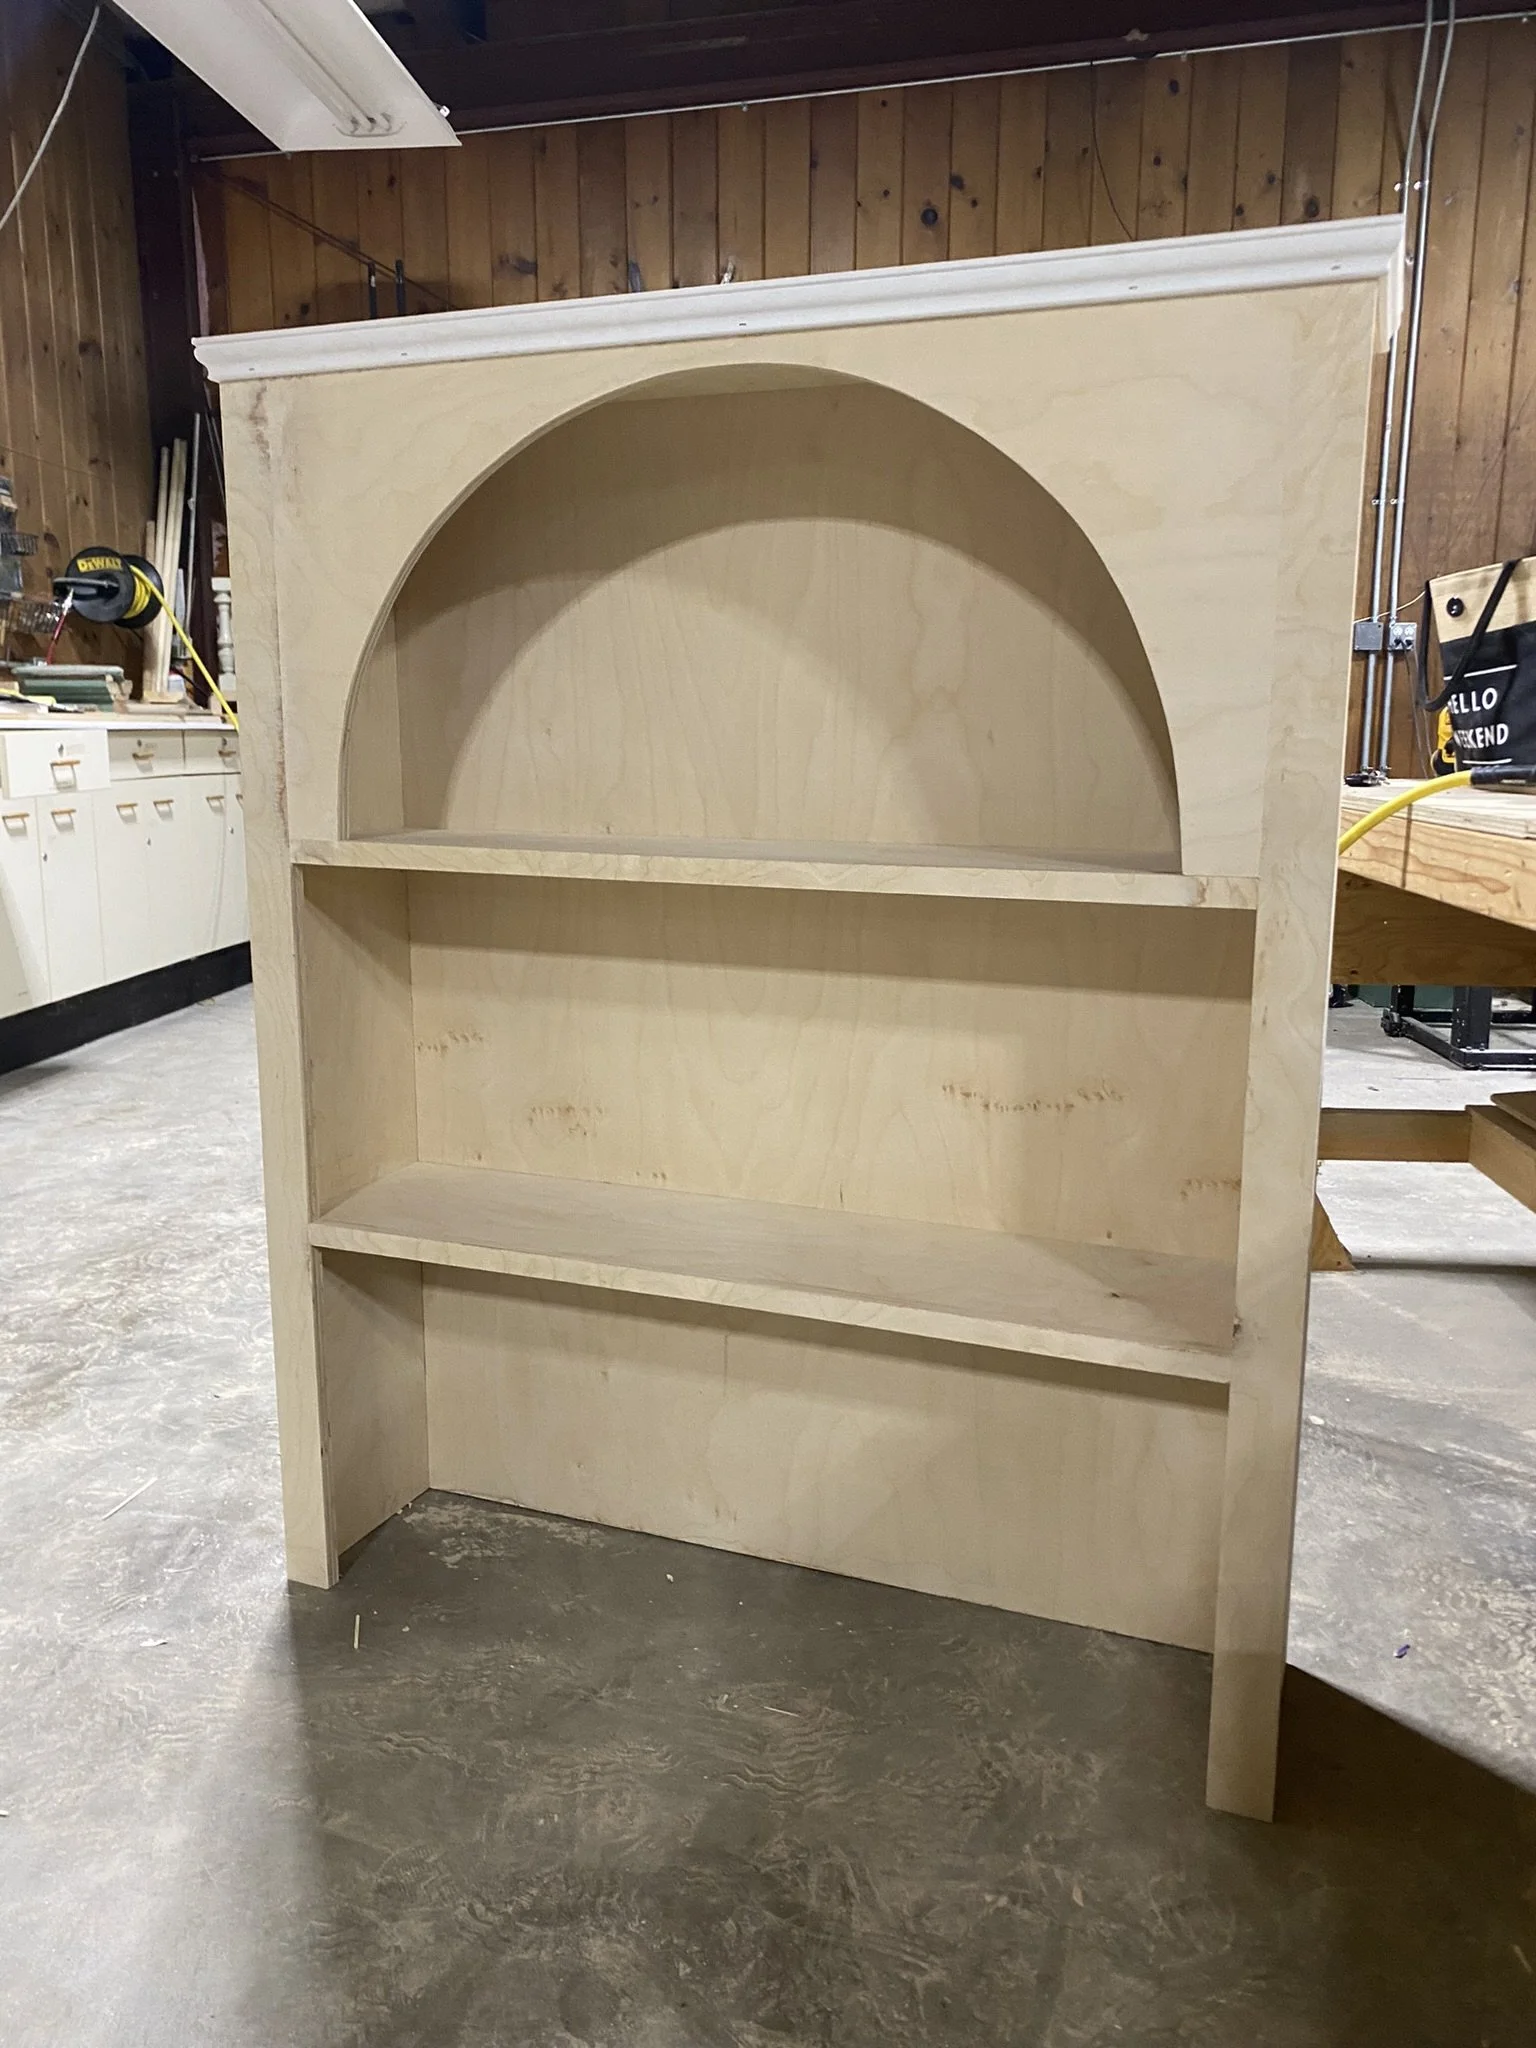
Storage wasn’t a huge concern this time around and the desk drawers were sufficient for what I needed while I would be working at my desk. What I desired more than anything was a space where I could be surrounded by beautiful pieces that bring me joy and inspire my design work, so I decided to design a custom hutch with shelves for the top of the desk.
Planning Stage.
Before going into this project, I really wanted to make a plan that I could execute mostly on my own. This is usually an underlying theme in my DIY projects, because this type of work is part of my business.
I love learning and refining my skills, and when I am DIY-ing, it’s important to me to do as much of the work as possible on my own and try to use tools that I already have when I can.
Of course, access to some nicer tools and more help will always make any project more efficient, so I opted for a little help on parts of this project.
Investing is tools can get expensive, and over the years we have slowly started to build up our own collection of essential pieces. Fortunately, to make this project a little easier, I was able to borrow some of the tools I didn’t have from my brother-in-law and use his workshop.
In the past, my husband and I have built a lot of our furniture pieces on the back patio, our garage, and even our living room, but with it being January and having negative temperatures when I started this project, using a workshop space like this kept me from throwing the towel in completely!
Selecting the Type of Wood.
When it comes to furniture, I definitely value quality, but not at the risk of completely blowing the budget. For me having a clear vision in mind of the final product helps me prioritize where to spend and where to save on my projects without sacrificing design.
When planning for the hutch, there were two things that were important to me: sturdiness and style.
One of my biggest issues with shelves, is when they start to bow in the center. I wanted the hutch to be sturdy and able to support whatever decorative pieces I chose to display. Additionally, I wanted something that would paint well. The vintage desk had some imperfections and staining it wasn’t going to be an option, so I knew I was going to be painting both the desk and hutch to tie the two together.
I opted to use 2 sheets of 3/4" birch plywood to make the hutch.
Understanding the Structure.
I did a lot of research and preparation for the structure of the hutch. I wanted to understand how the piece would be assembled before I ever made the first cut - an attribute I developed from watching my husband!
For the hutch, I knew I wanted the piece to look finished on the front, so I designed a face frame to hide the raw/rough plywood edges. I figured out exactly how each piece would fit together, and where the screws would go to ensure the piece maintained a custom, elevated look.
I then arranged how each piece would fit on the plywood and measured out my guidelines.
Cutting the Wood.
I could have made these cuts using a circular saw for the hutch, but since we had access to a table saw, we used this instead.
This is where I enlisted some help from my husband. Truthfully, the table saw is one tool in the shop that I just don’t feel totally comfortable using just yet - one day! My husband used the guidelines I created to cut each of the sections.
Cutting the Half Circle.
When it came to the cut the half circle for the top of the hutch, I didn’t use anything fancy. My husband had already cut the rectangle from the plywood in the size I needed, so it was just a matter of tracing a half circle to create a guideline and then slowly cutting along that guideline.
To trace the half circle, I used a thin piece of scrap wood much like the arm on a clock. First, I cut the scrap piece to the height I wanted at the top of the circle (about 16 1/2 inches). I then nailed the scrap to the rectangular board as close as I could get to the bottom without splitting the wood (this was the part of the wood we would be cutting off). I placed my pencil on the edge of the scrap and slowly rotated the scrap piece back and forth until I had my half circle traced.
I then used my reciprocating saw to freehand the half circle cut. I went very slowly to keep my cut as close to the line as possible, then used the power sander to smooth things out and perfect the shape. This was another time in the project that it was helpful to have a second person. My husband helped hold the board and blow the saw dust off while I was cutting so that I could see my line and keep my cut continuous instead of having to stop multiple times.
Assembly.
To assemble the piece, I opted to create pocket holes using the Kreg pocket hole jig system. This was my first time using a pocket hole jig, but I have been so eager to use one for a project!
With the design of the hutch, I knew the sides weren’t going to be visible, so pocket holes were a simple and effective solution.
I used wood glue and various large clamps to hold the pieces together. I also had my husband help hold the pieces as I screwed them together to ensure no movement.
Finally, my husband cut the molding for the top, and helped hold it while I tacked it down using the brad nailer.
Sanding.
Finishing work is all about patience. No one really enjoys sanding - do they? I know I don’t, but over the years of DIY-ing furniture pieces for our home and the shop has taught me to really take my time with this step.
I sanded the desk and hutch multiple times, working my way from 80 grit to 150 grit sandpaper in order to get a smooth finish. For most of the sanding, I used my Ryobi sander, but if you have the choice, go with the DeWalt Orbital Sander every time. I was fortunate to be able to use my brother-in-law's for this project and now this piece is on my shopping list!
As a final sanding step, I used a piece of 220 grit over the entire piece, sanding softly by hand.
Painting.
Oh paint color! As I have said before, choosing a paint color can be one of the most difficult decisions in the design process. For this project, I really wanted this piece to be a warm puddy color. I opted for the color Sandbar by Sherman Williams. This color was exactly what I was wanting for the hutch.
I added a thin layer of paint using my smooth roller, let it dry, then sanded the piece lightly with 220 grit sand paper before applying a second layer. This process was key for getting the smooth finish I desired. I have learned the hard way that painting is another thing you just don’t want to rush. Take your time, keep your layers thin, and frequently check over your work for any drips/running.
Materials used for the hutch/desk:
- 3/4" Birch plywood (I used 2 sheets)
- Molding of your choice (I used 1 1/2 inch)
- Circular saw (table saw recommended)
- Kreg pocket hole jig
- Screws (pocket hole screws recommended)
- Wood glue
- Clamps
- Reciprocating saw
- Brad Nailer
- DeWalt Orbital Sander
- 80 grit, 150 grit, and 220 grit sand paper
- Sandbar by Sherman Williams in satin finish
- Roller
- Smooth Roller Brush
- My Favorite Paint Brush
- Antique Brass Pulls
The Game Changer to this Office Nook Transformation!
In my experience, DIY projects always seem to snowball in some way, and this one was no exception.
Once the hutch was painted, I put it in the space and I instantly felt overwhelming disappointment. Why? Though I loved the color of the hutch, it just did not pair well with creamy colored walls the way I envisioned - it’s like the two colors were too similar. The bigger problem - the vertical car siding paneling just seemed to take the entire look in a different direction than what I wanted.
Thus, my snowball began!
I decided it was time to do something drastic and different, but something that would start to take our home in a direction that is truly authentic to the style we love. So, I transformed the walls in the office nook, and eventually in our entire living room and hallway, giving our wood tongue-and-groove paneling a smoother, drywall like finish.
>>> Find out how I transformed our walls here:
DIY Transformation of Wood Tongue-And-Groove Paneled Walls <<<
Transforming the walls was by far the biggest undertaking of this project, because I knew transforming this little office nook and the wall above the nook would mean that I would eventually be transforming the rest of our living room and hallway.
I also used this time to update the wall color to Simply White by Benjamin Moore. This white color is more modern than the yellowish-cream that was on the walls, but is a slightly warm white that brings a fresh feel to the space. It also gave the correct amount of contrast against the puddy colored desk/hutch.
I did enlist some more help to do a little work on the ceiling in this space too. We actually updated the lighting in our living room back in the fall, and we simply just run out of time that weekend to do the lighting in this little nook. Since I knew I was going to be updating this space anyway, we decided to do it all at once.
The original recessed lights in this space were just way too oversized for the little nook, so I opted for task lights instead. We took down the old plaster ceiling, updated the fixtures to small task lights and moved them forward so they would be placed correctly above the new hutch. We then added the new drywall to the ceiling.
Adding a Little Character.

Adding the beam to the top helped add some warmth and character.
Sometimes when you’re designing a space, you don’t realize what you need until you see things start to come together. As I was planning to add the trim around the ceiling to give the nook a finished look, I made a final last-minute change to the top part of the front of the nook that solidified the style I wanted this nook to communicate.
I opted to make a faux beam using two 1x4 boards cut at 45-degree angles to finish the front. Adding this wood accent to the top helped add some warmth to the ceiling and bring some of that vintage charm in that I love.
Finishing Touches + Styling.
For the desk, I opted for these beautiful Antique Brass Pulls. I am a sucker for this style of hardware - it's so classic.
For now, I'm using the glass that came with the desk to protect the top, however keeping this was never part of the plan. Eventually, I plan to add a piece of quartz to the top of this desk to finish the look.

Before
After
The final step for me is always styling and it’s truly the best part! Styling can make or break a space, especially when it comes to shelves and to me, it’s all about balancing tones and decorating with collected pieces.
>> Check out my Tips For Shelf Styling <<
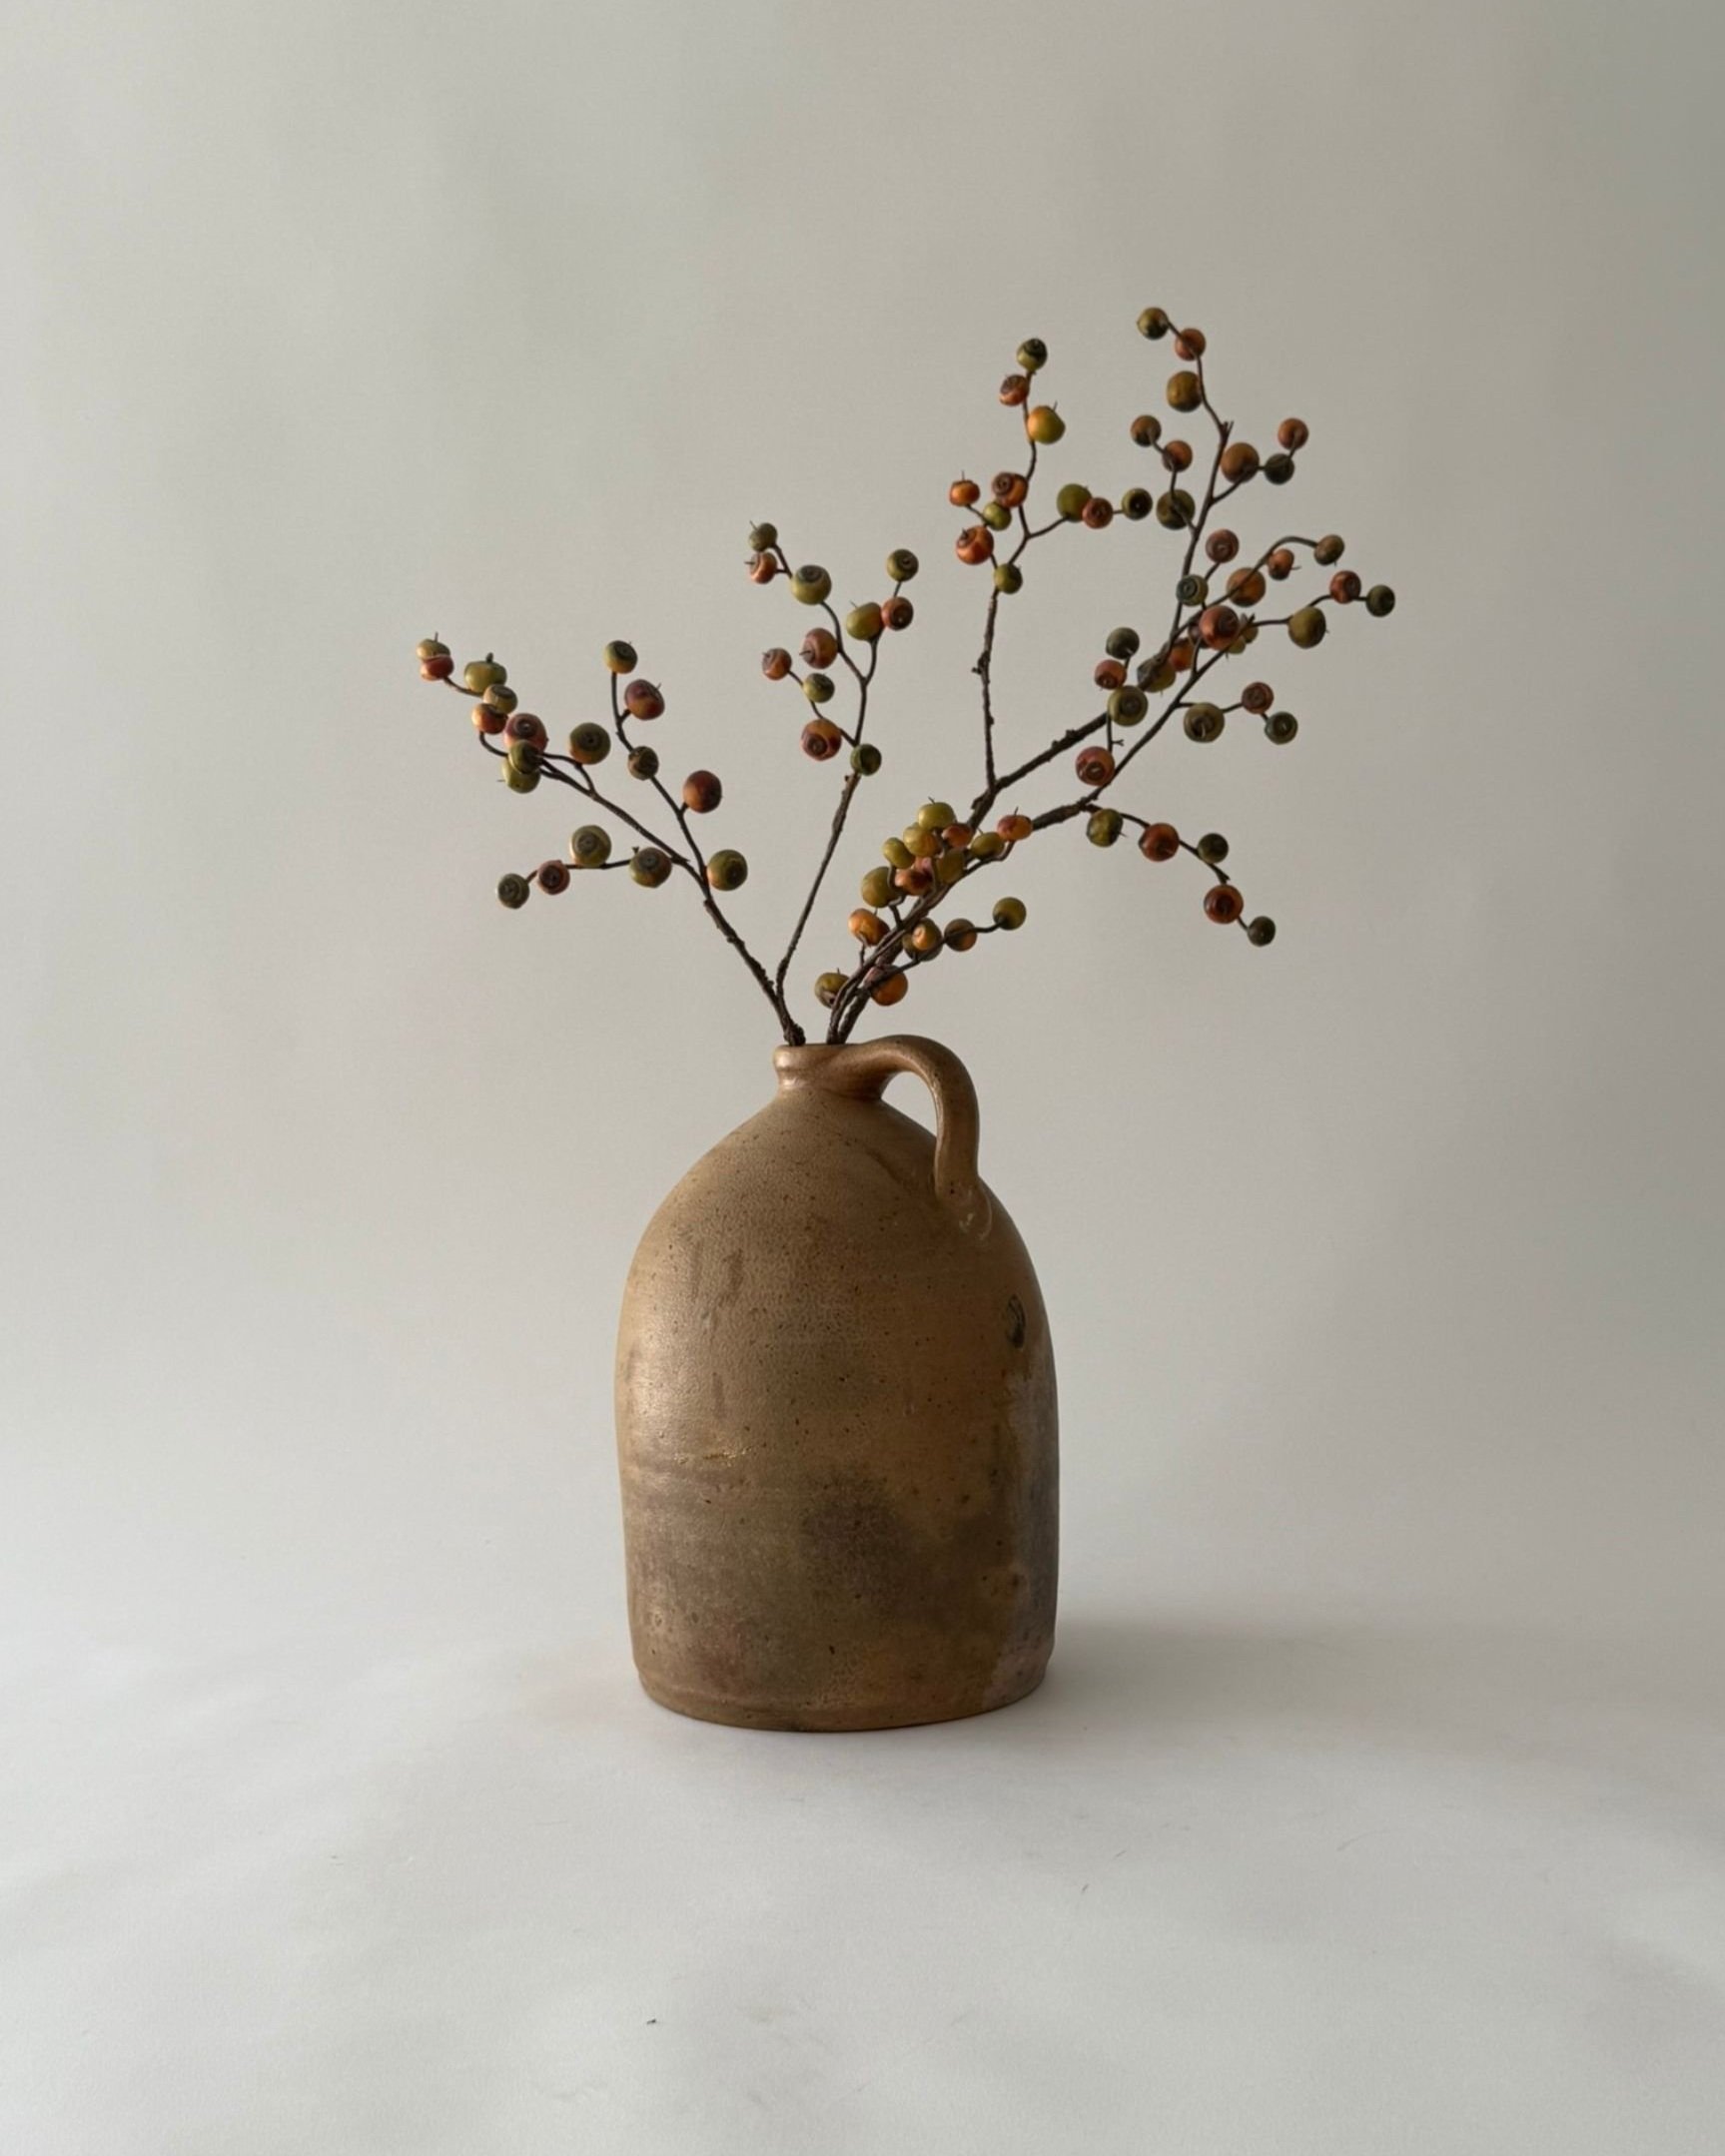
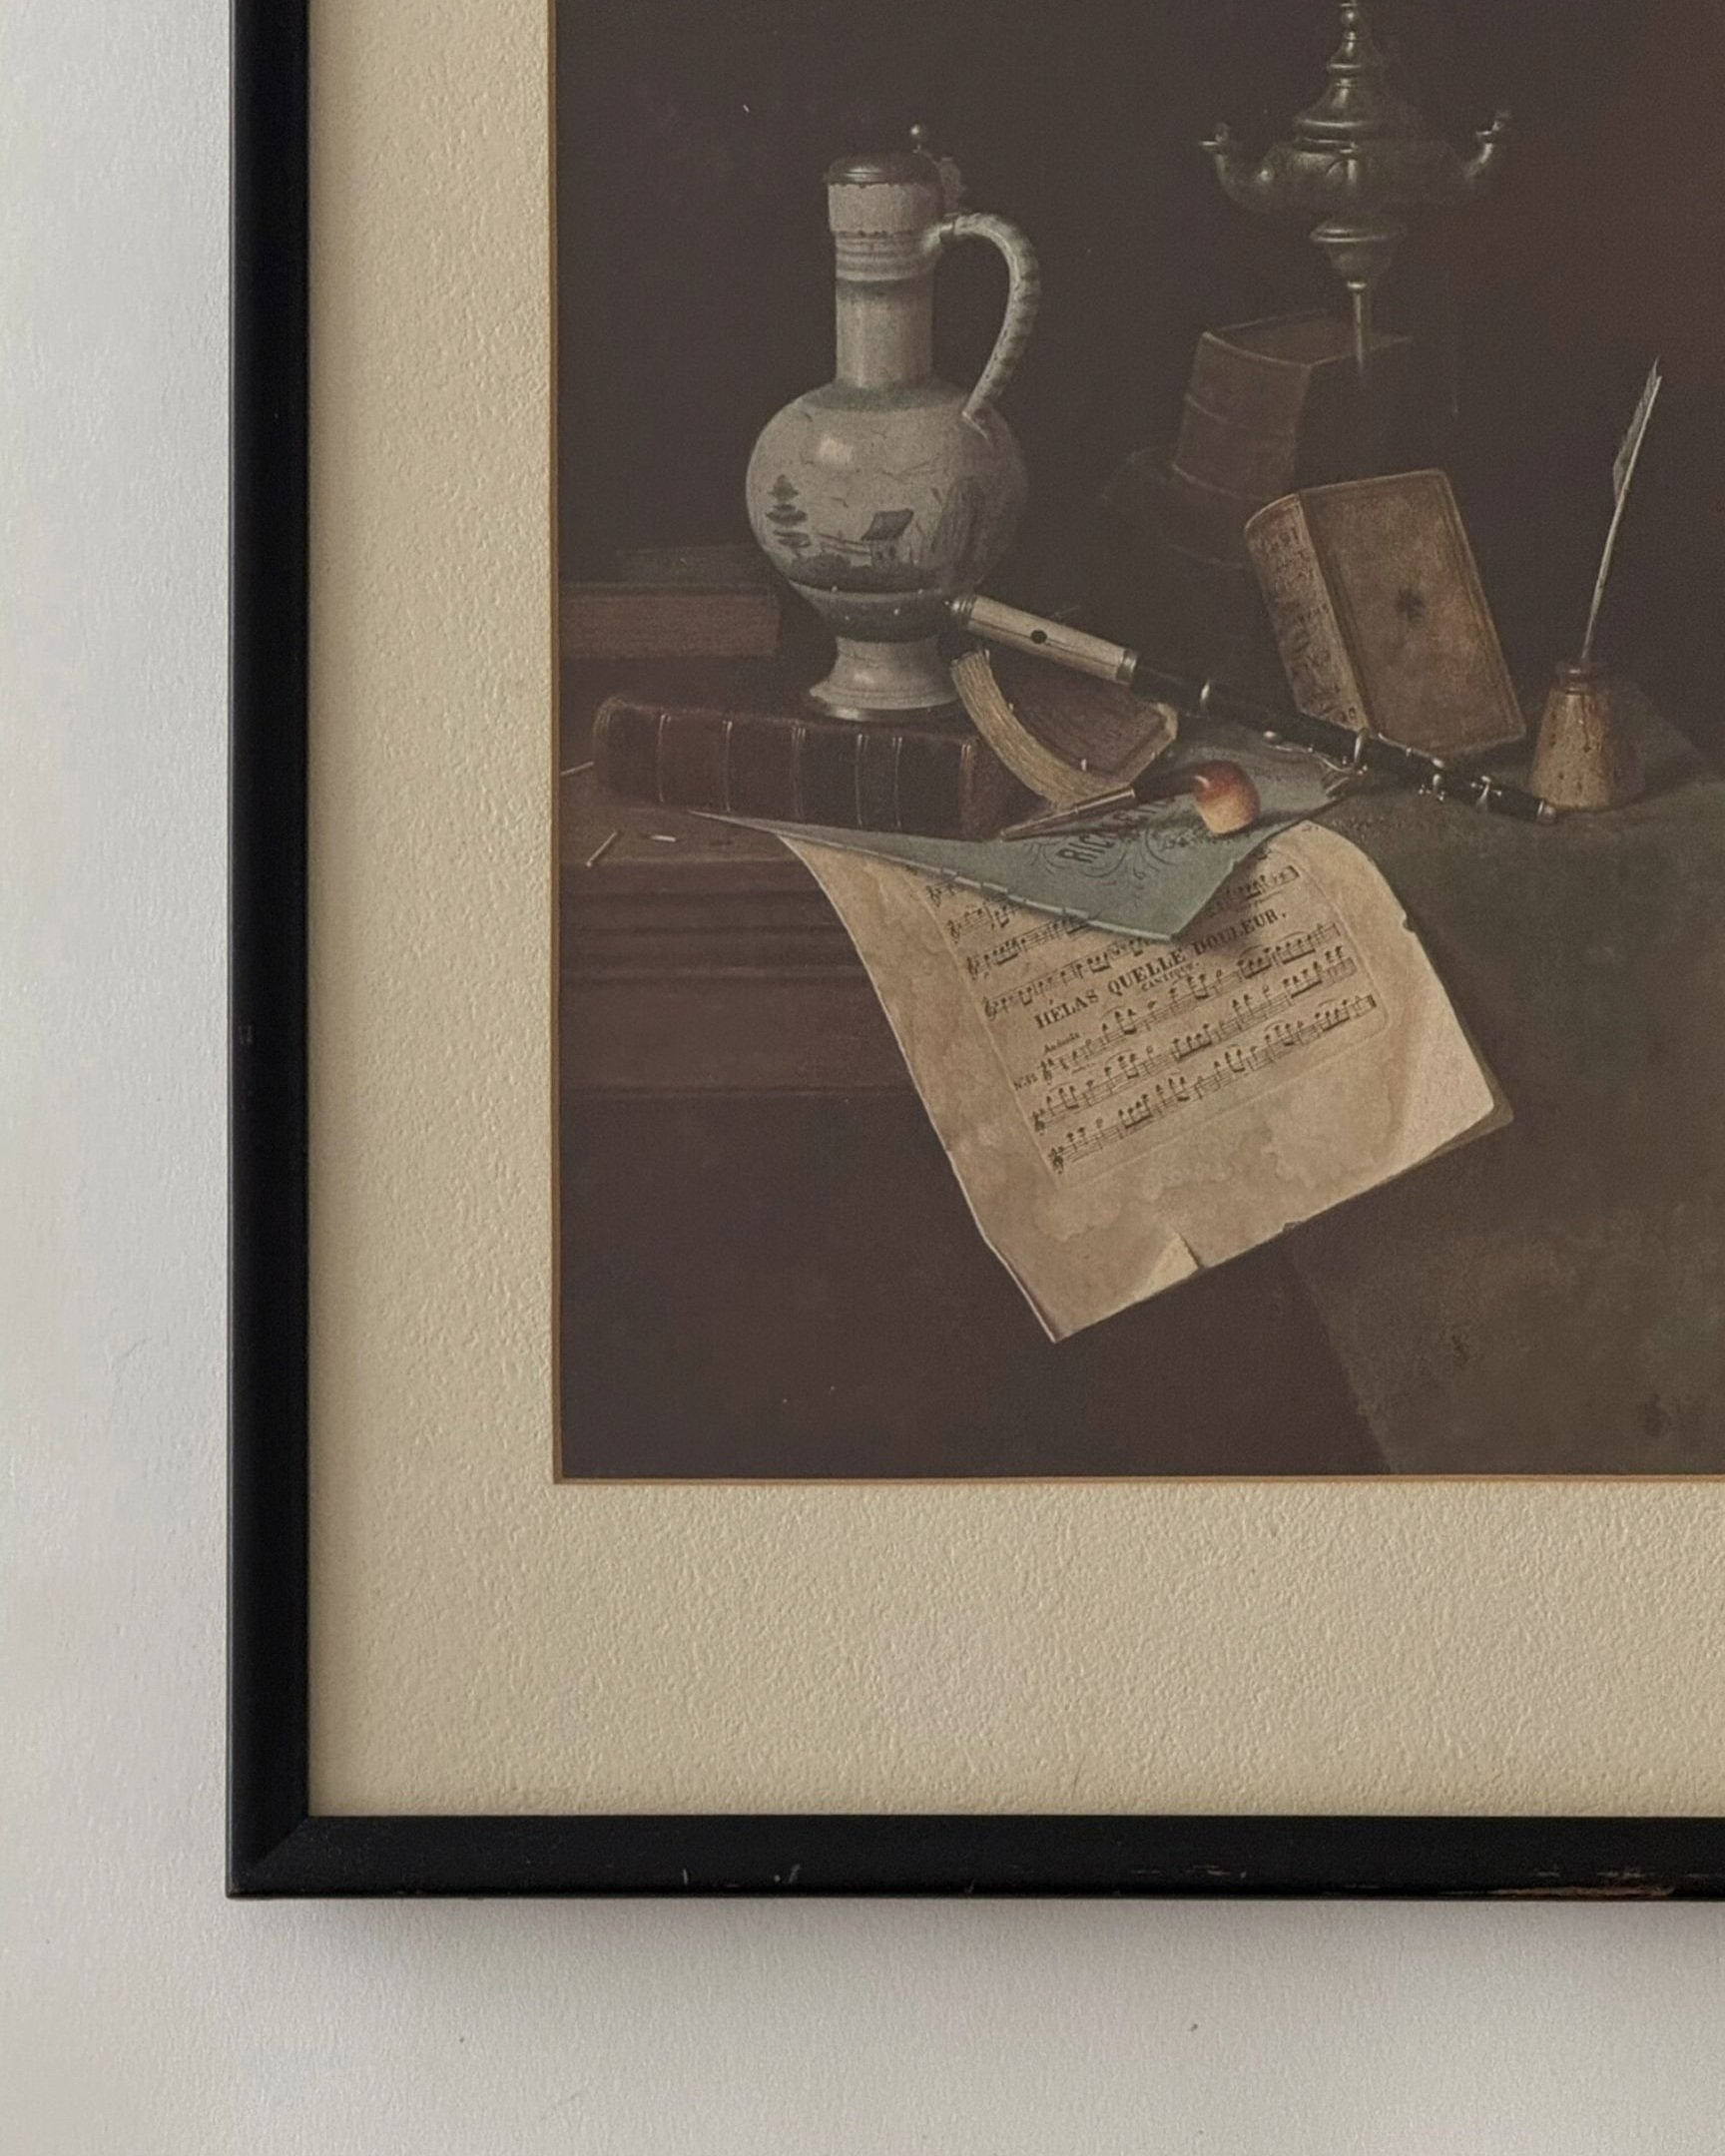
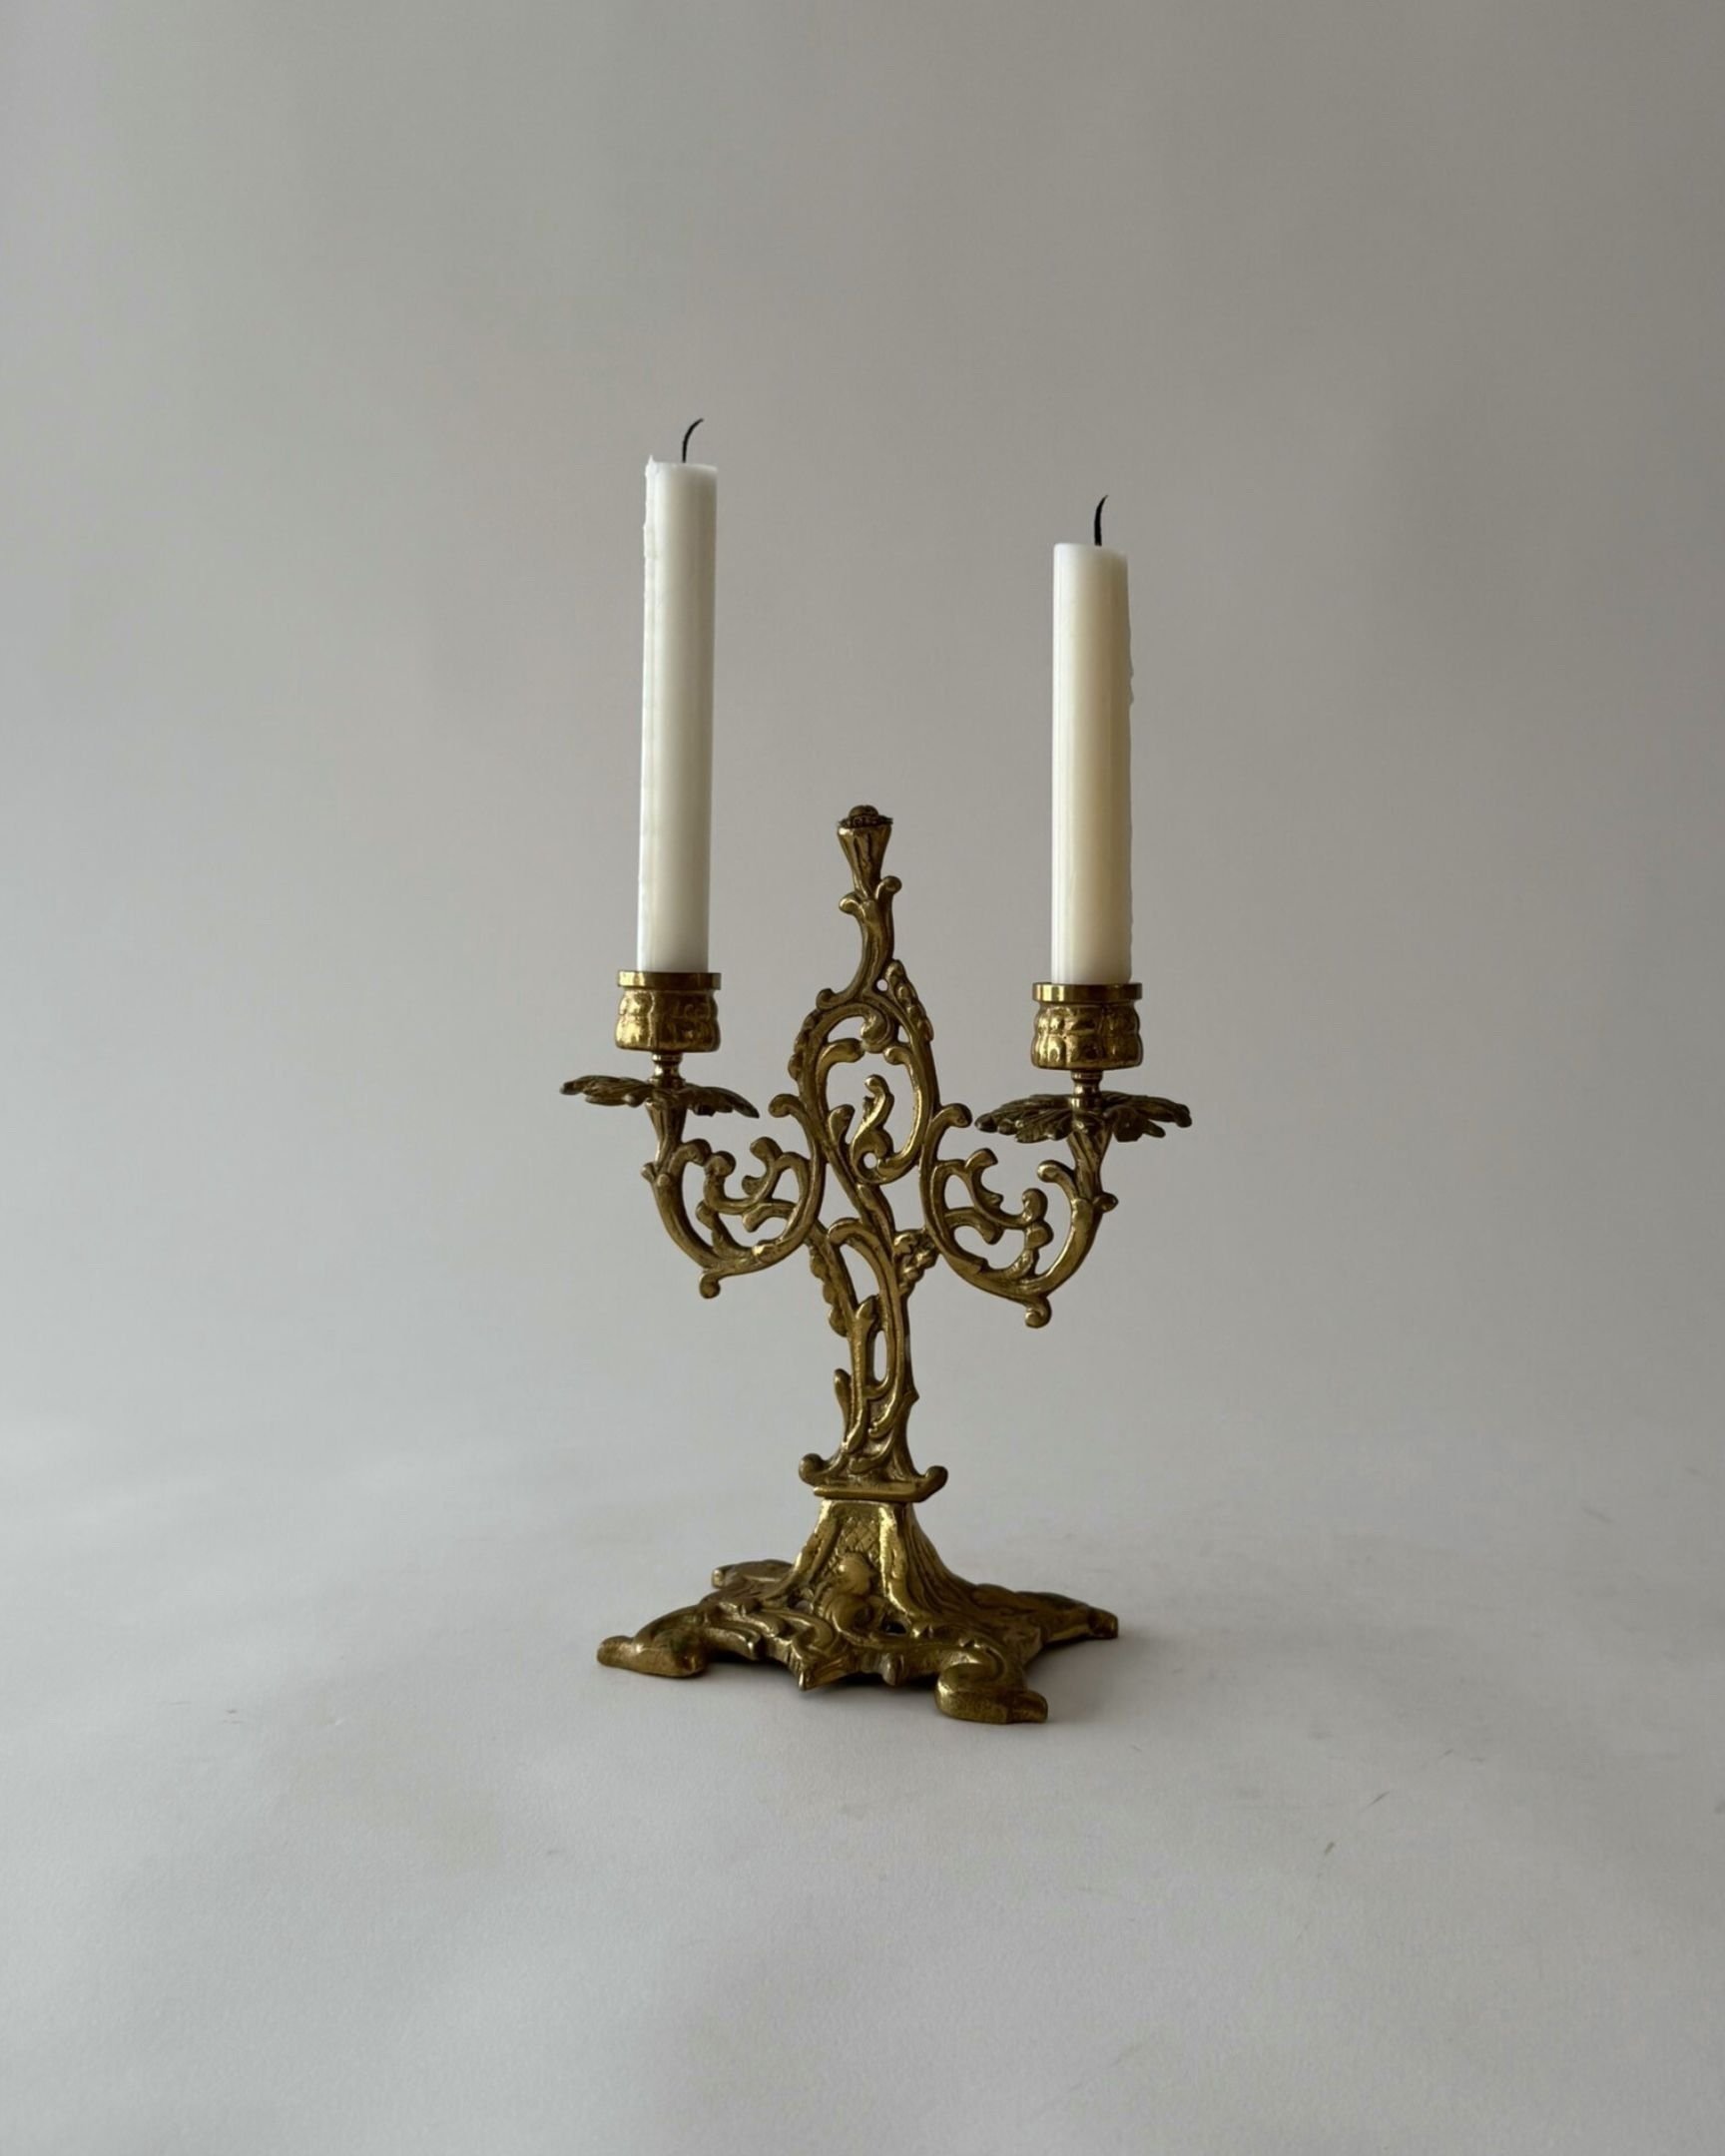
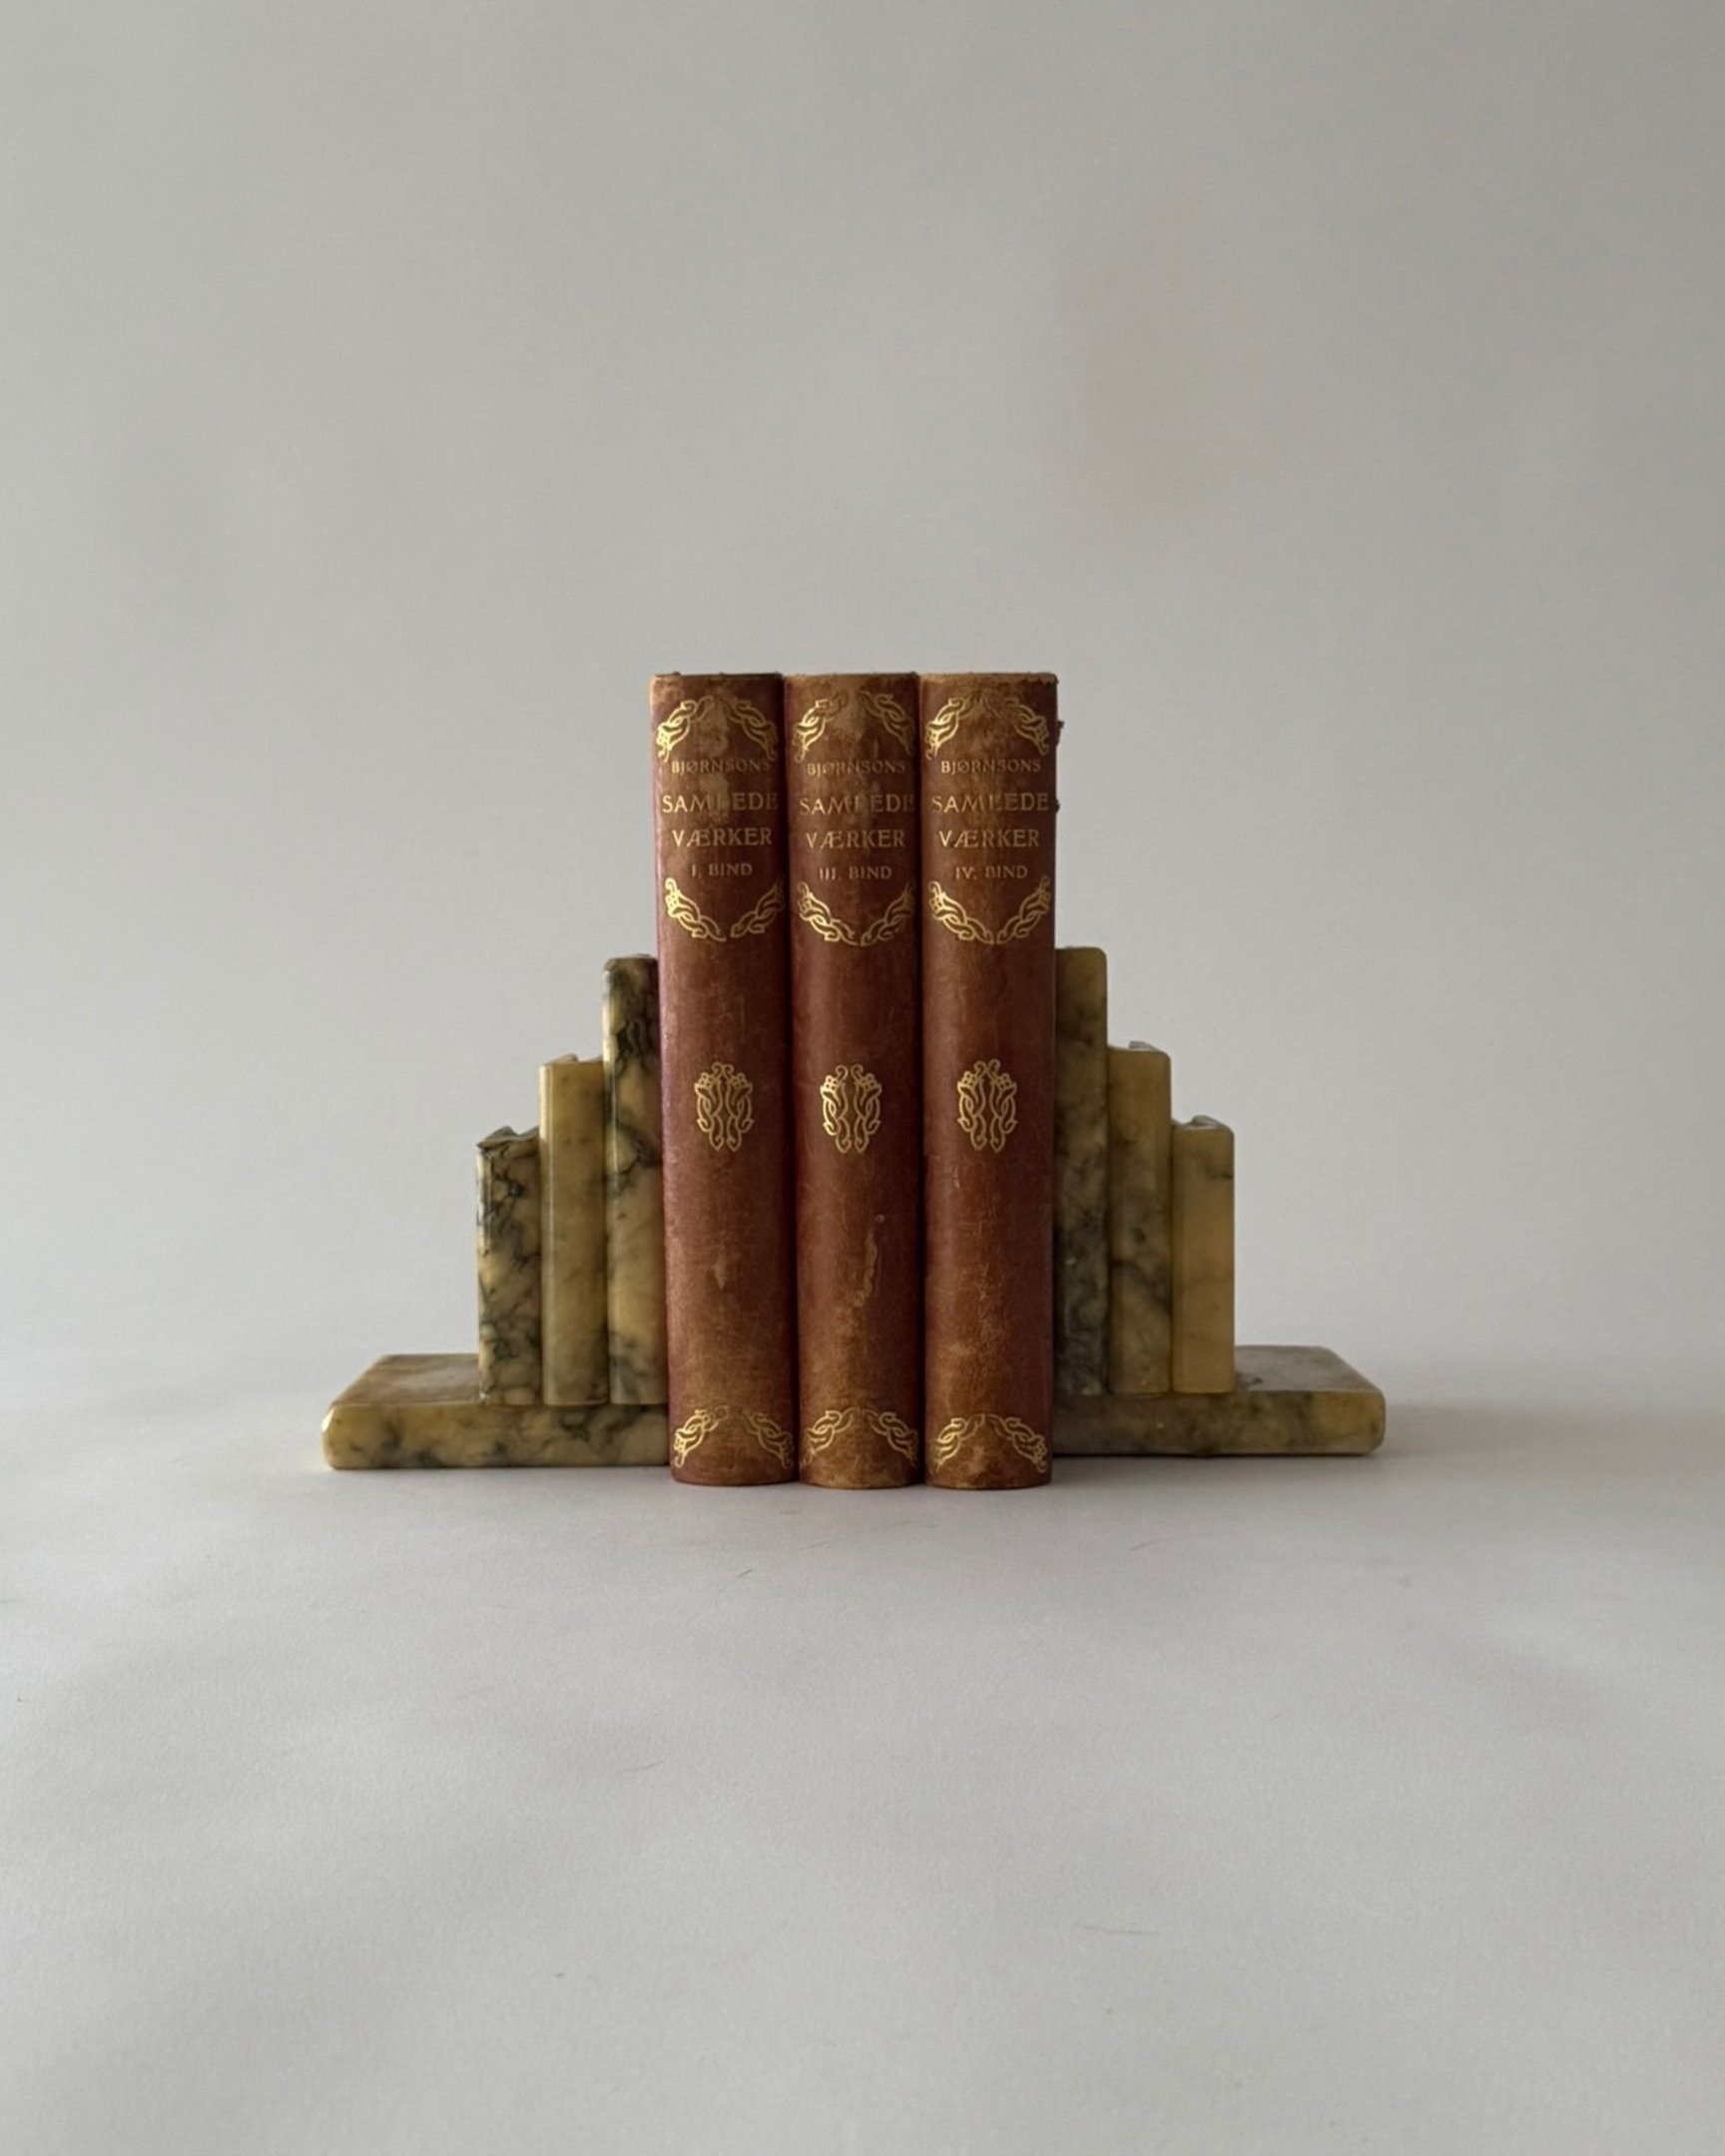
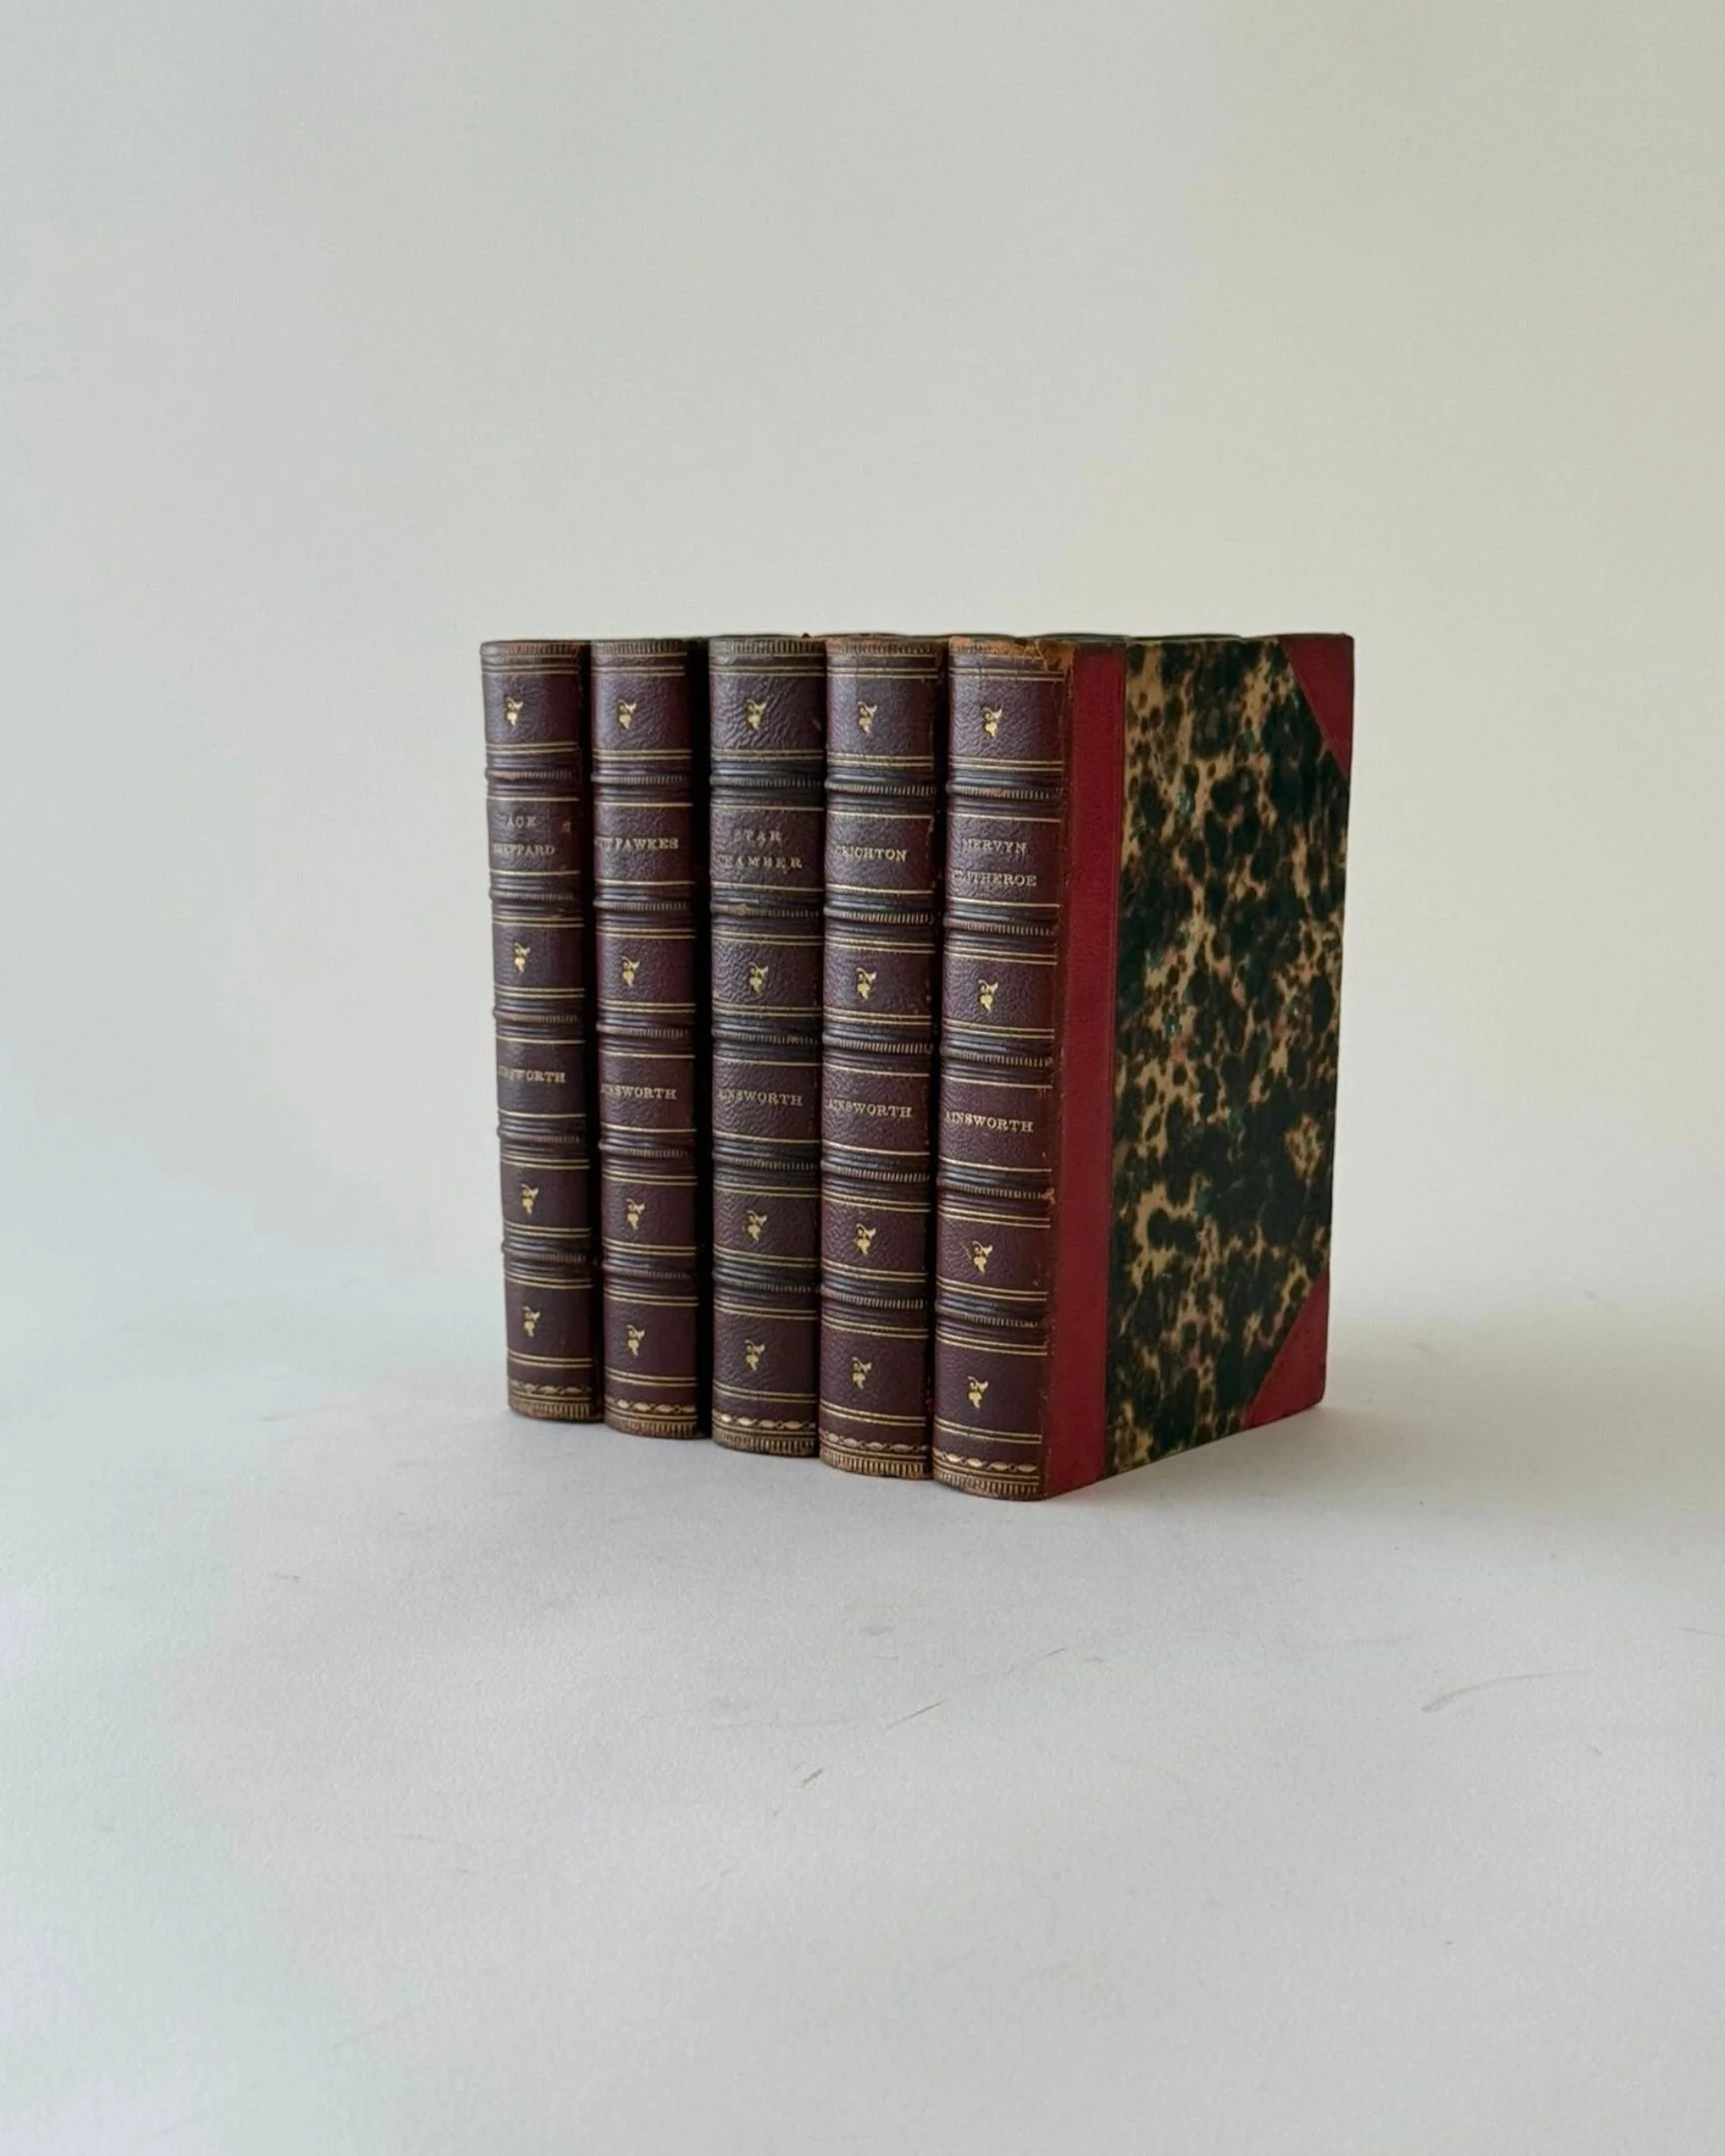
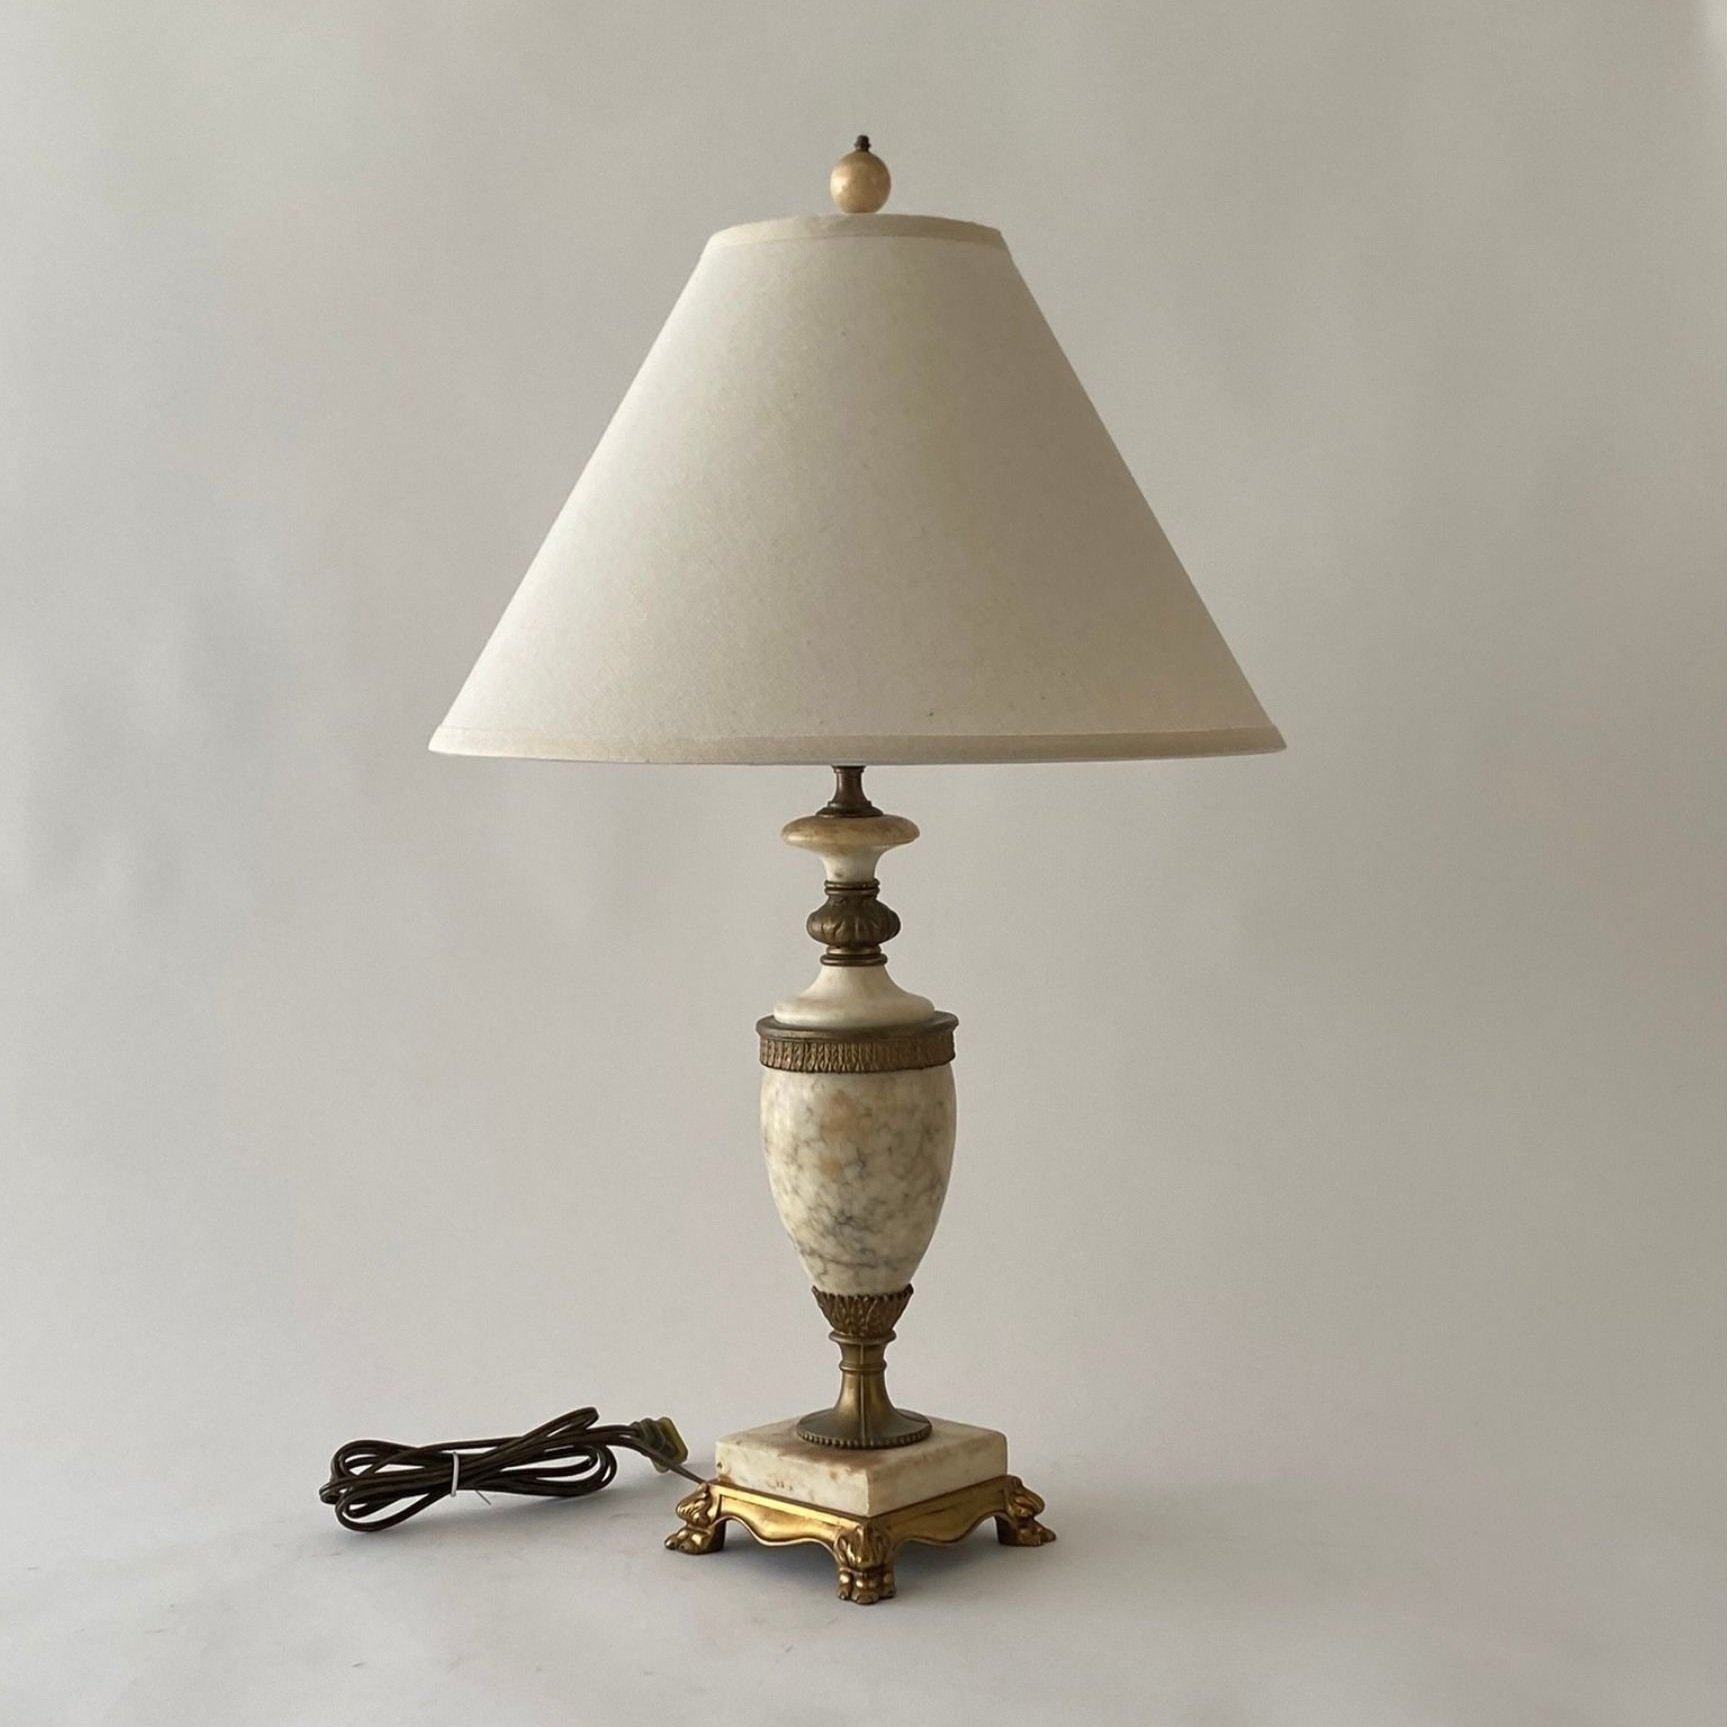
For this look, I pulled some of my favorite collected pieces from my own personal collection and mixed in several of my most loved pieces from the shop.
Interested in recreating this look? You can shop my hutch shelves here:
This new office nook is the perfect corner to let my creativity thrive! Creating spaces that are a reflection of what you love and spark inspiration is why I do what I do. The magic of design is in the personal details that make our spaces unique to us.
Ready to start transforming your space? From styling tips to shopping tips, we’ve got everything you need on the blog. Check out my home decorating tips for more.
Looking for a little inspiration? Check out my personal design portfolio to see room transformations I’ve worked on and find out more about how I can help you on your next project.
If you’re looking to add some antique and vintage accents to your shelves? Check out the online shop for all our selection of curated and collected pieces:


Shop my LTK or visit my Amazon Storefront for more of my finds and favorites.
Follow for more home decorating tips and inspiration: