
How to Make Dried Orange Slices
This post may contain affiliate links which means I may receive a commission for purchases made through links. Learn more on my Privacy Policy Page.
Dried orange slices are a holiday decorating must-have for a vintage-style Christmas.

These natural beauties bring heartwarming nostalgia to your home and pair effortlessly with lush greenery.
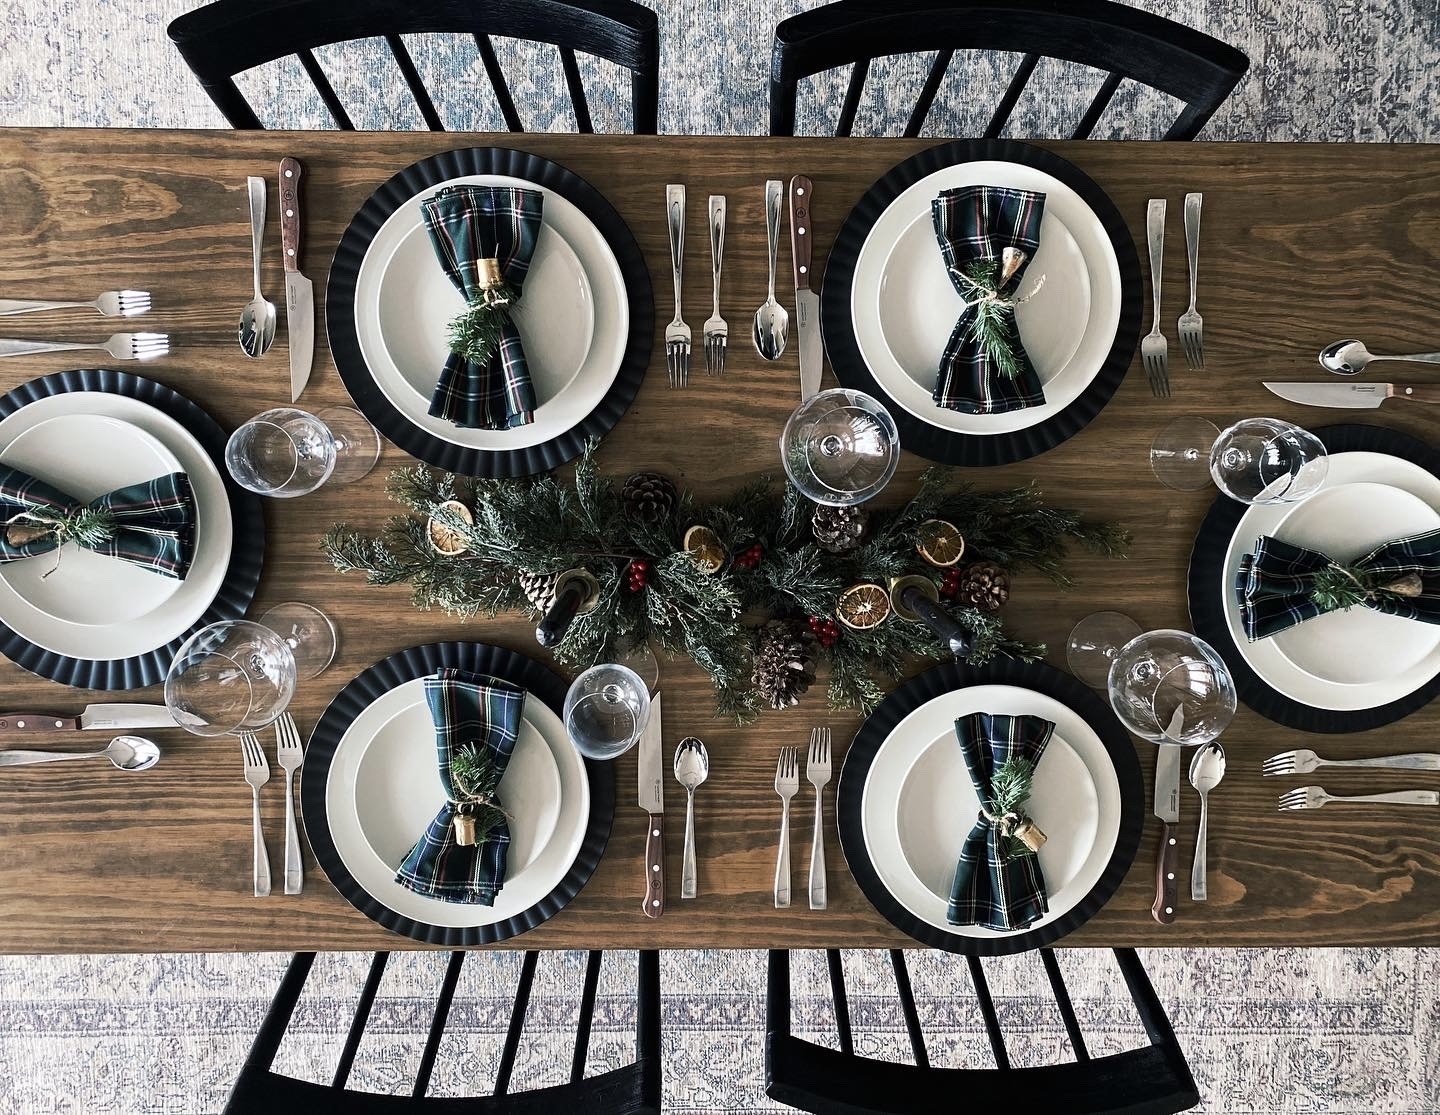
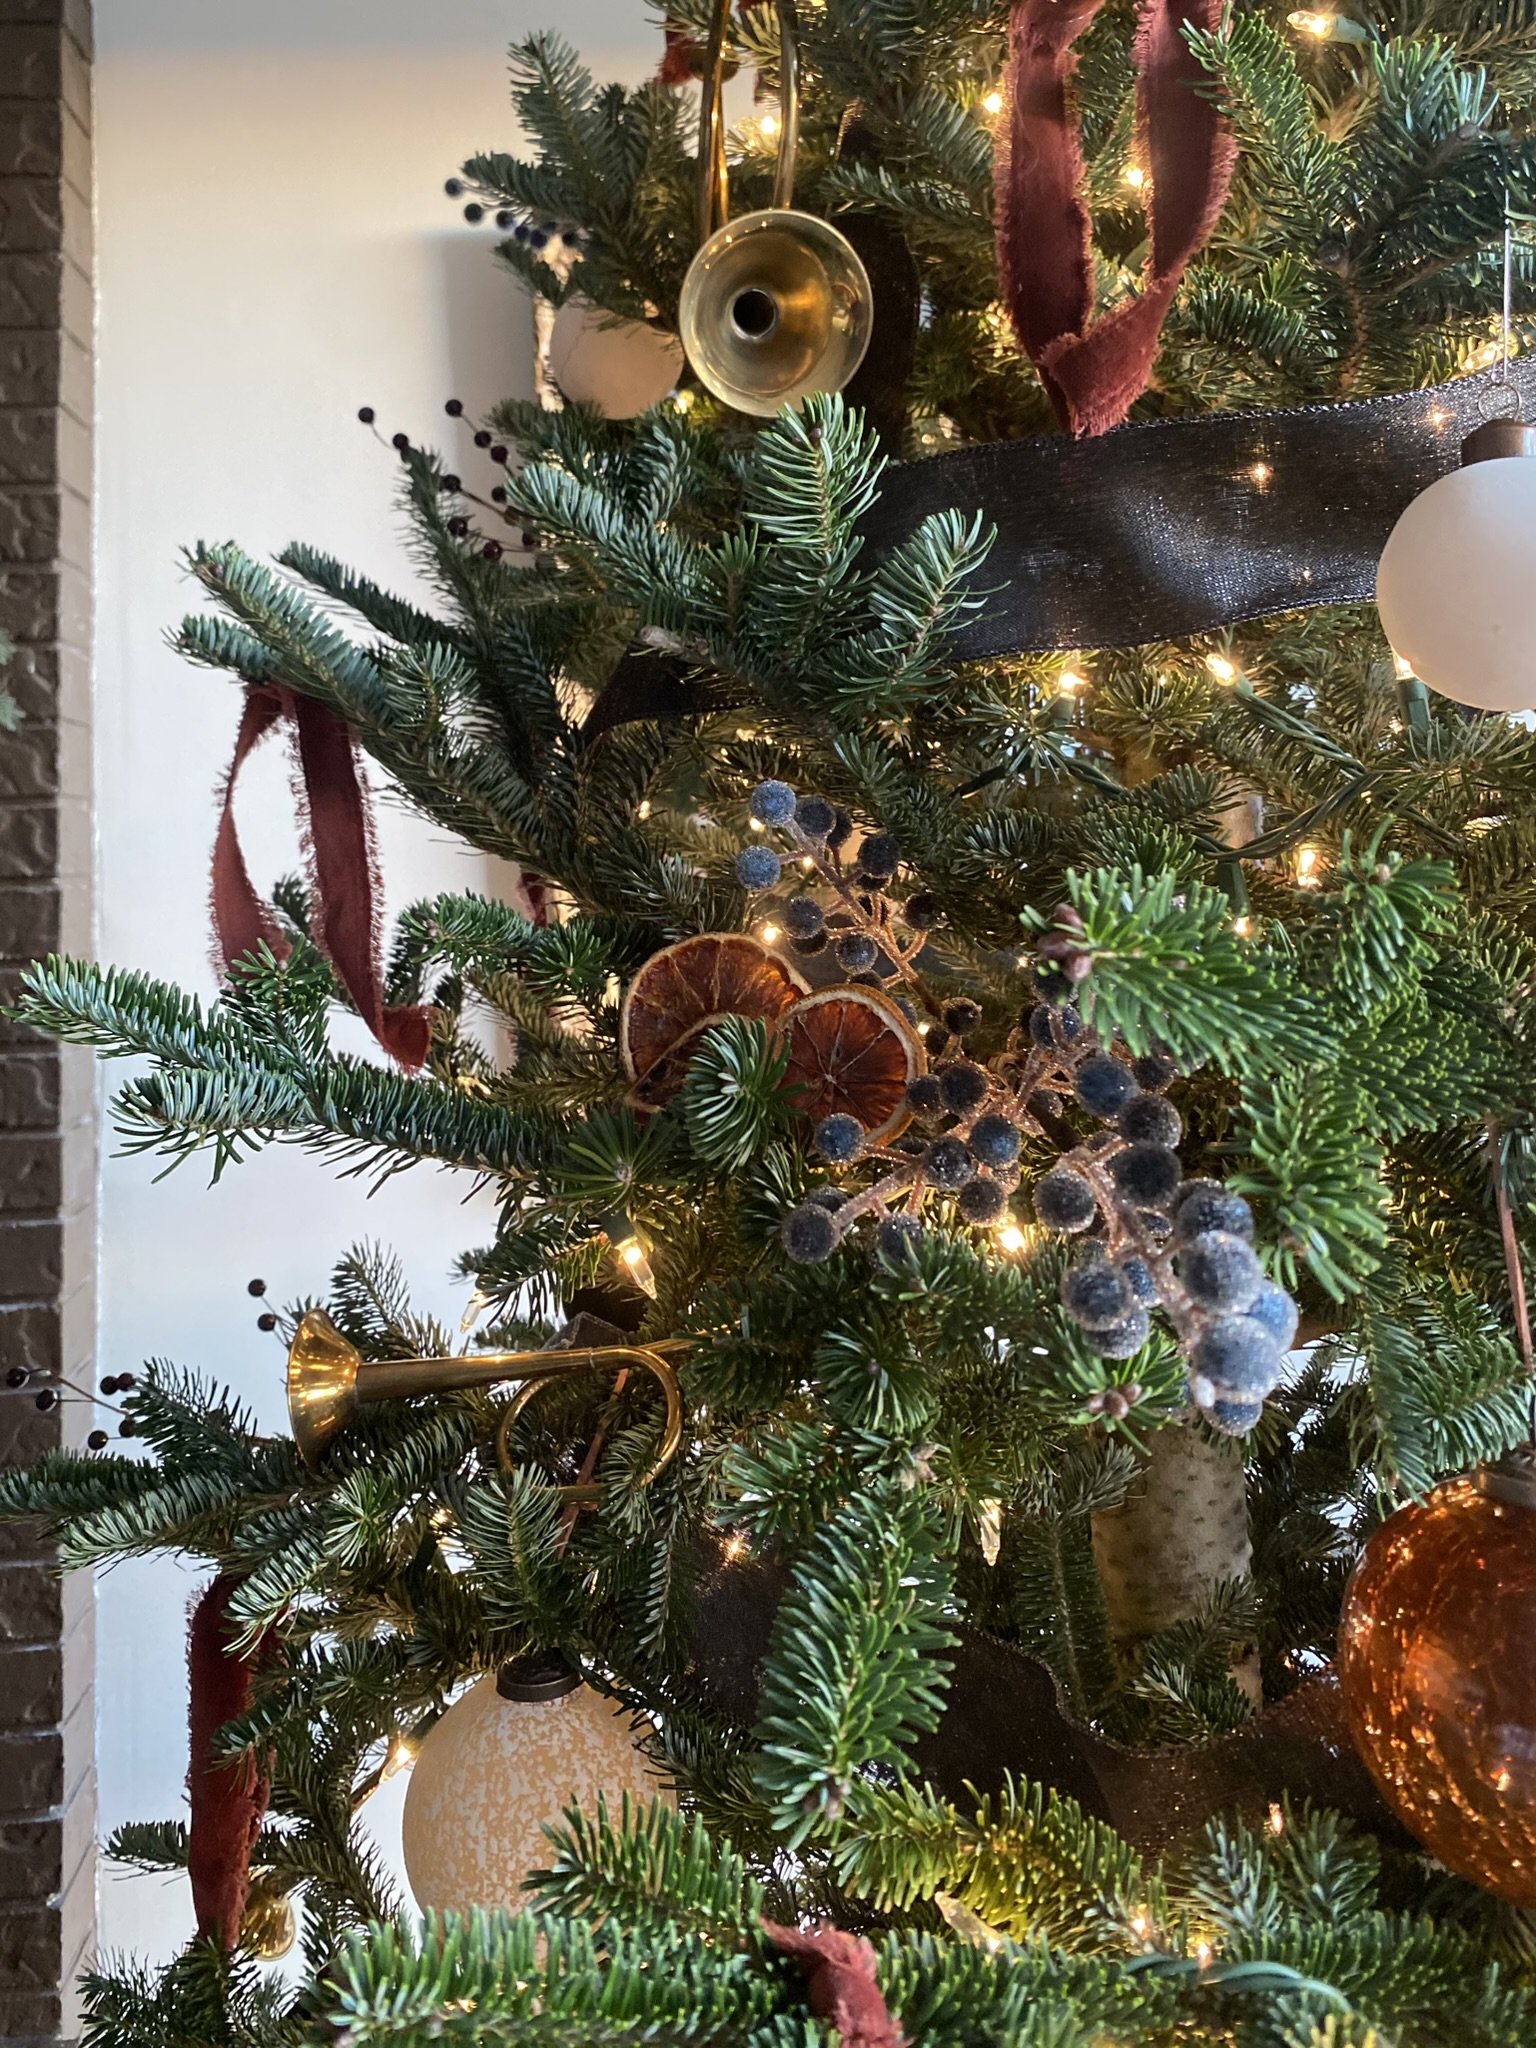
I love the look of hanging dried oranges from the tree and nestling them into my garlands and centerpieces.
Natural elements like dried oranges, cinnamon sticks, and pinecones are ideal for elevating the look of your holiday decor. These pieces bring character and variety to your decorating and are ideal for adding fullness and texture.
If you’re looking to add a touch of old world charm this holiday season, natural elements are a great budget-friendly way to achieve a vintage aesthetic, and dried oranges are one of the best options.
>>> Find out more about my 5 Tips to Achieving a Moody + Vintage Holiday Aesthetic.
Orange may not be a color that immediately comes to mind when you think of your holiday decorating color pallet, but recently it has been one of my absolute favorites to incorporate.
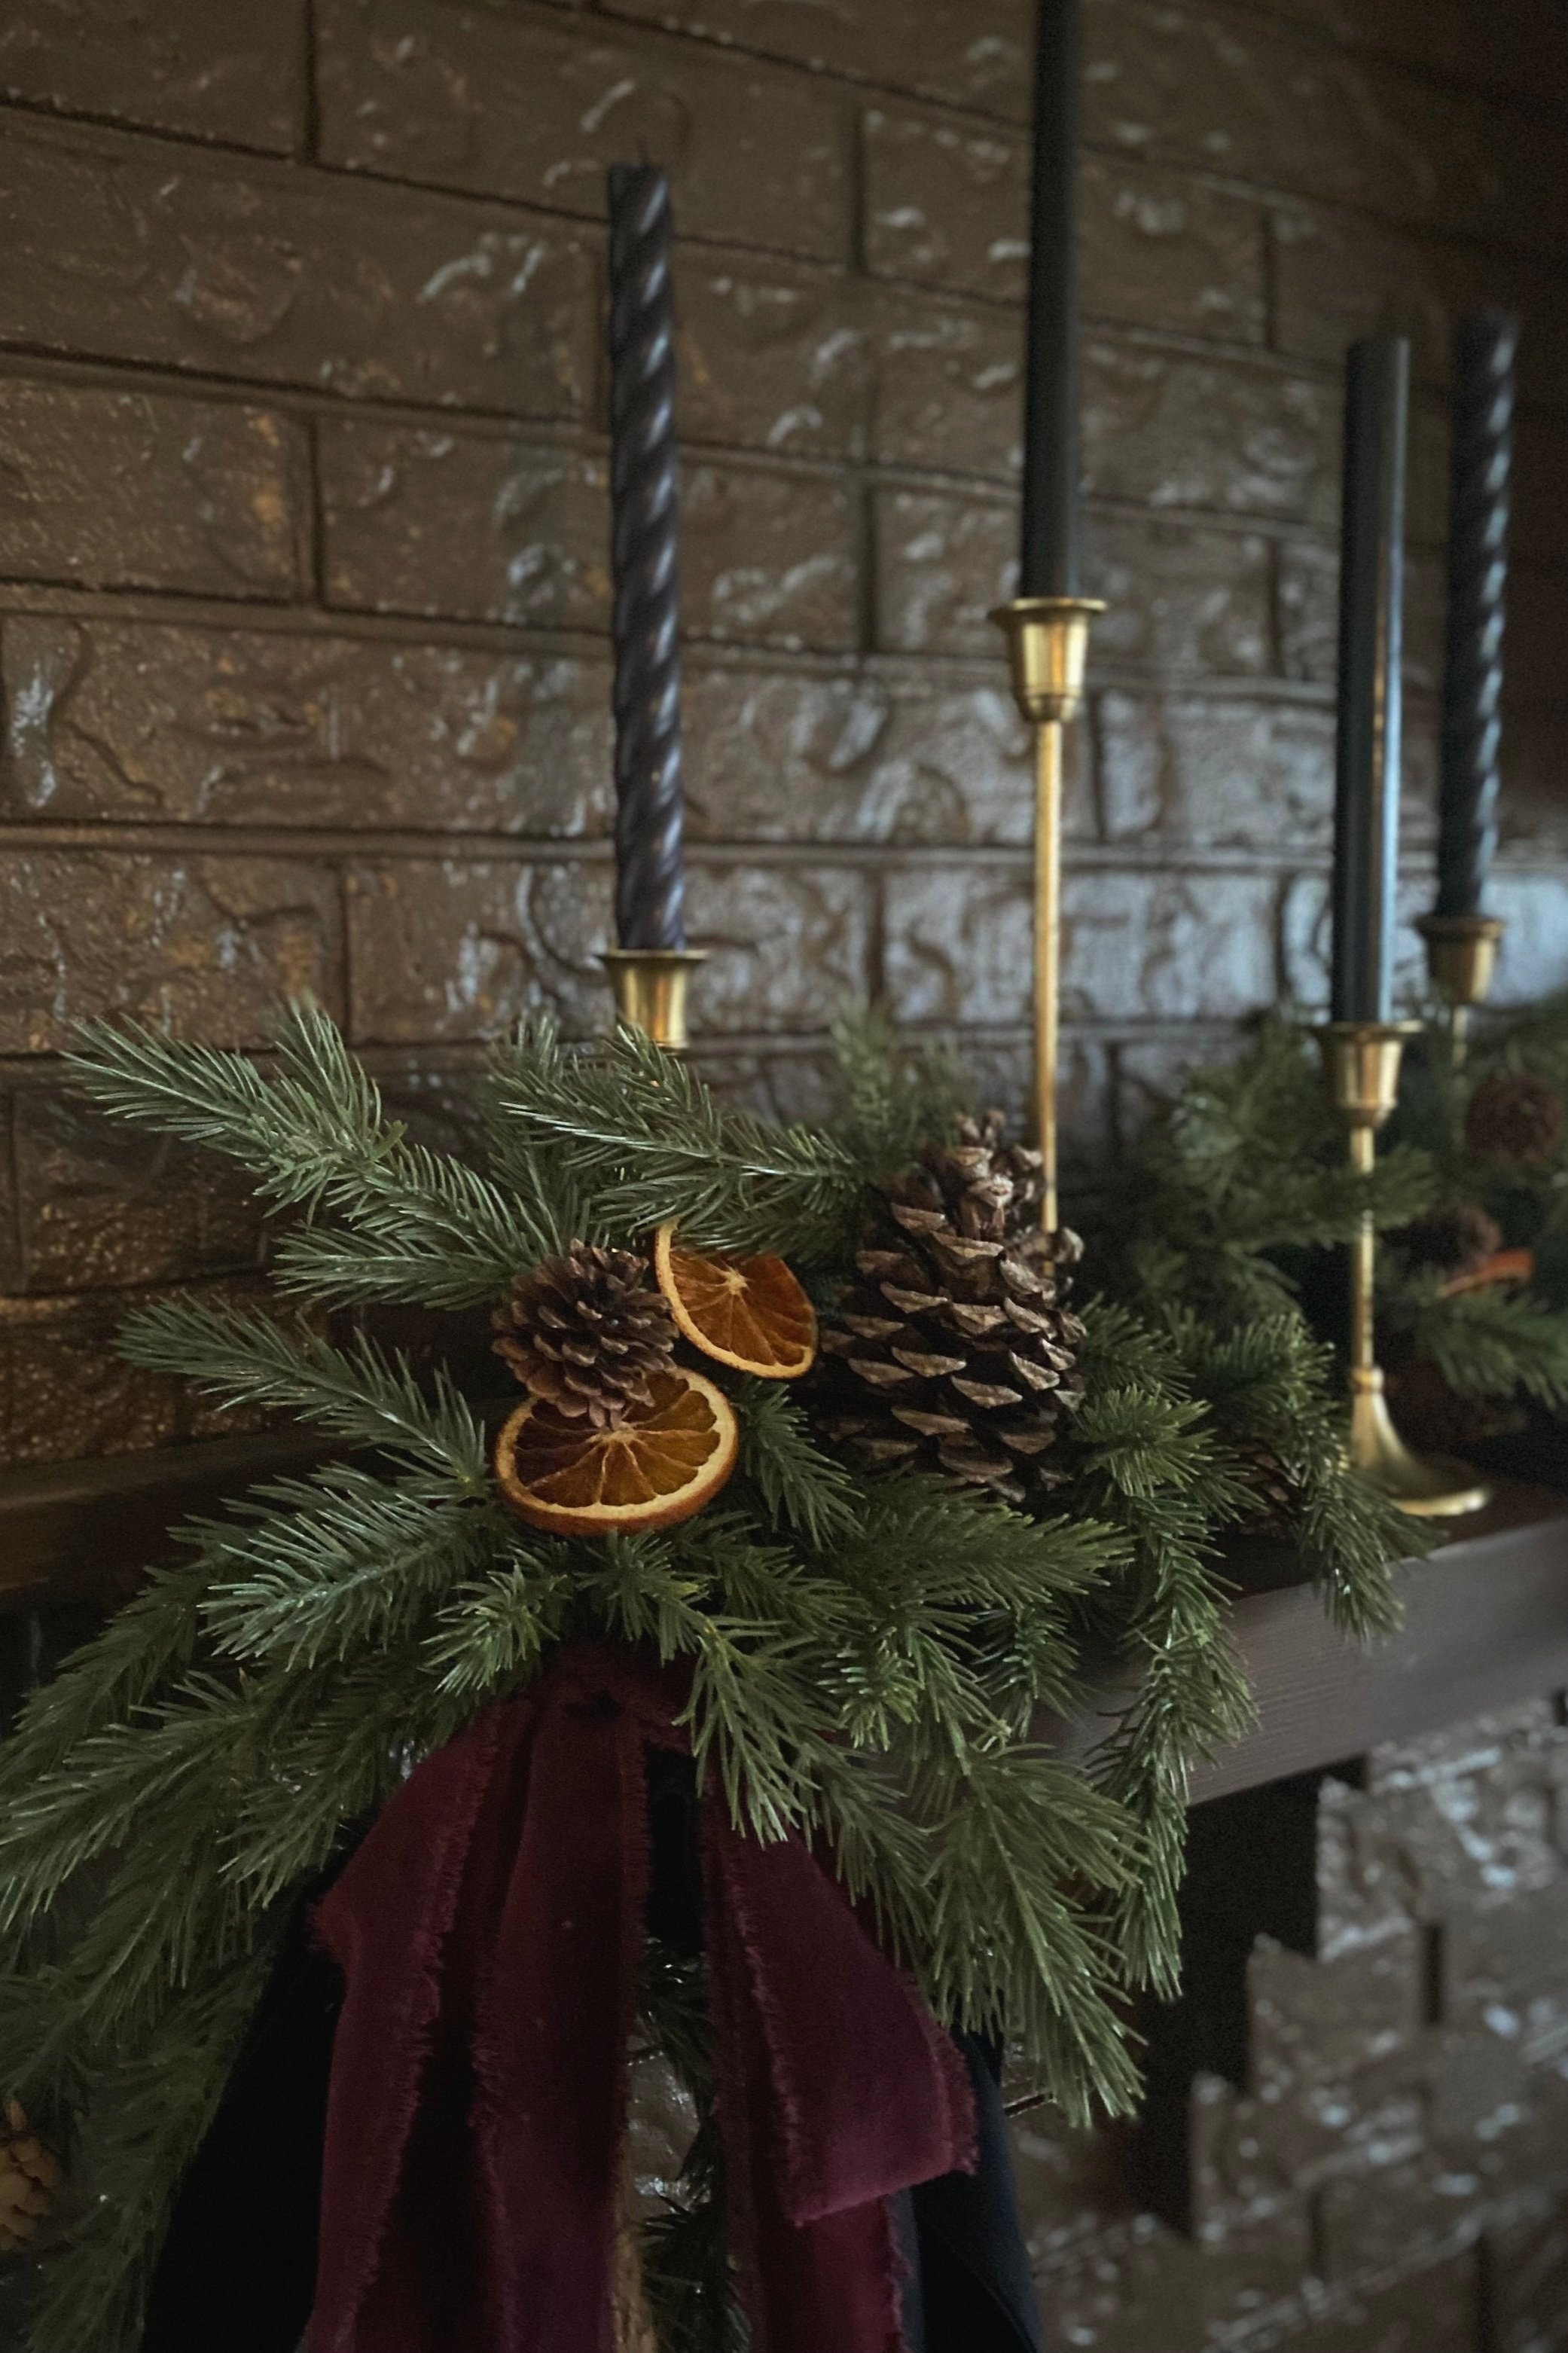
The warm, golden tones of these dried oranges complement the burgundy and forest greens that we know and love for the holidays and pair beautifully with vintage brass accents.
The best part, dried oranges are super simple to make. Find out how I make mine below!
Materials
3-5 oranges of various sizes (I used naval oranges and got about 7-8 slices per orange)
wax paper
chef's knife
cutting board
paper towel
Make Your Own:
Preheat the oven to 250 degrees.
Remove any stickers from your oranges.
Thinly slice your oranges.
*I sliced mine between 1/8 and 1/4 inch thick and was able to get about 7-8 slices per orange. Note: The thicker you slice them, the longer they will need to dry out.
Blot your oranges with a paper towel to soak up any excess moisture.
Line your baking sheet with wax paper, and then place your orange slices on top.
Bake for 3-4 hours.
*I checked my oranges every hour. Some of the thinner oranges were done after about 3 hours, the thicker ones took about 4 hours. Note: You will be able to tell they are done when they have shrunk and are dried in the center.
Once dried, your oranges are ready to be sprinkled around your home for the holidays.
Take a look at how a few of the ways I have styled dried oranges in our home throughout over the years. From our tablescape, to the fireplace mantle, to the tree, I have used these all throughout our home to add some heartwarming holiday charm to our decor.

2023
2022
2024
Looking for more holiday inspiration? From gift wrapping to home decor finds and more, we’ve pulled all our favorite holiday finds together in one, easy to shop place. Check out all our holiday finds + favorites:


Looking for gift ideas? Check out our holiday gift guides to shop our creator’s top picks!


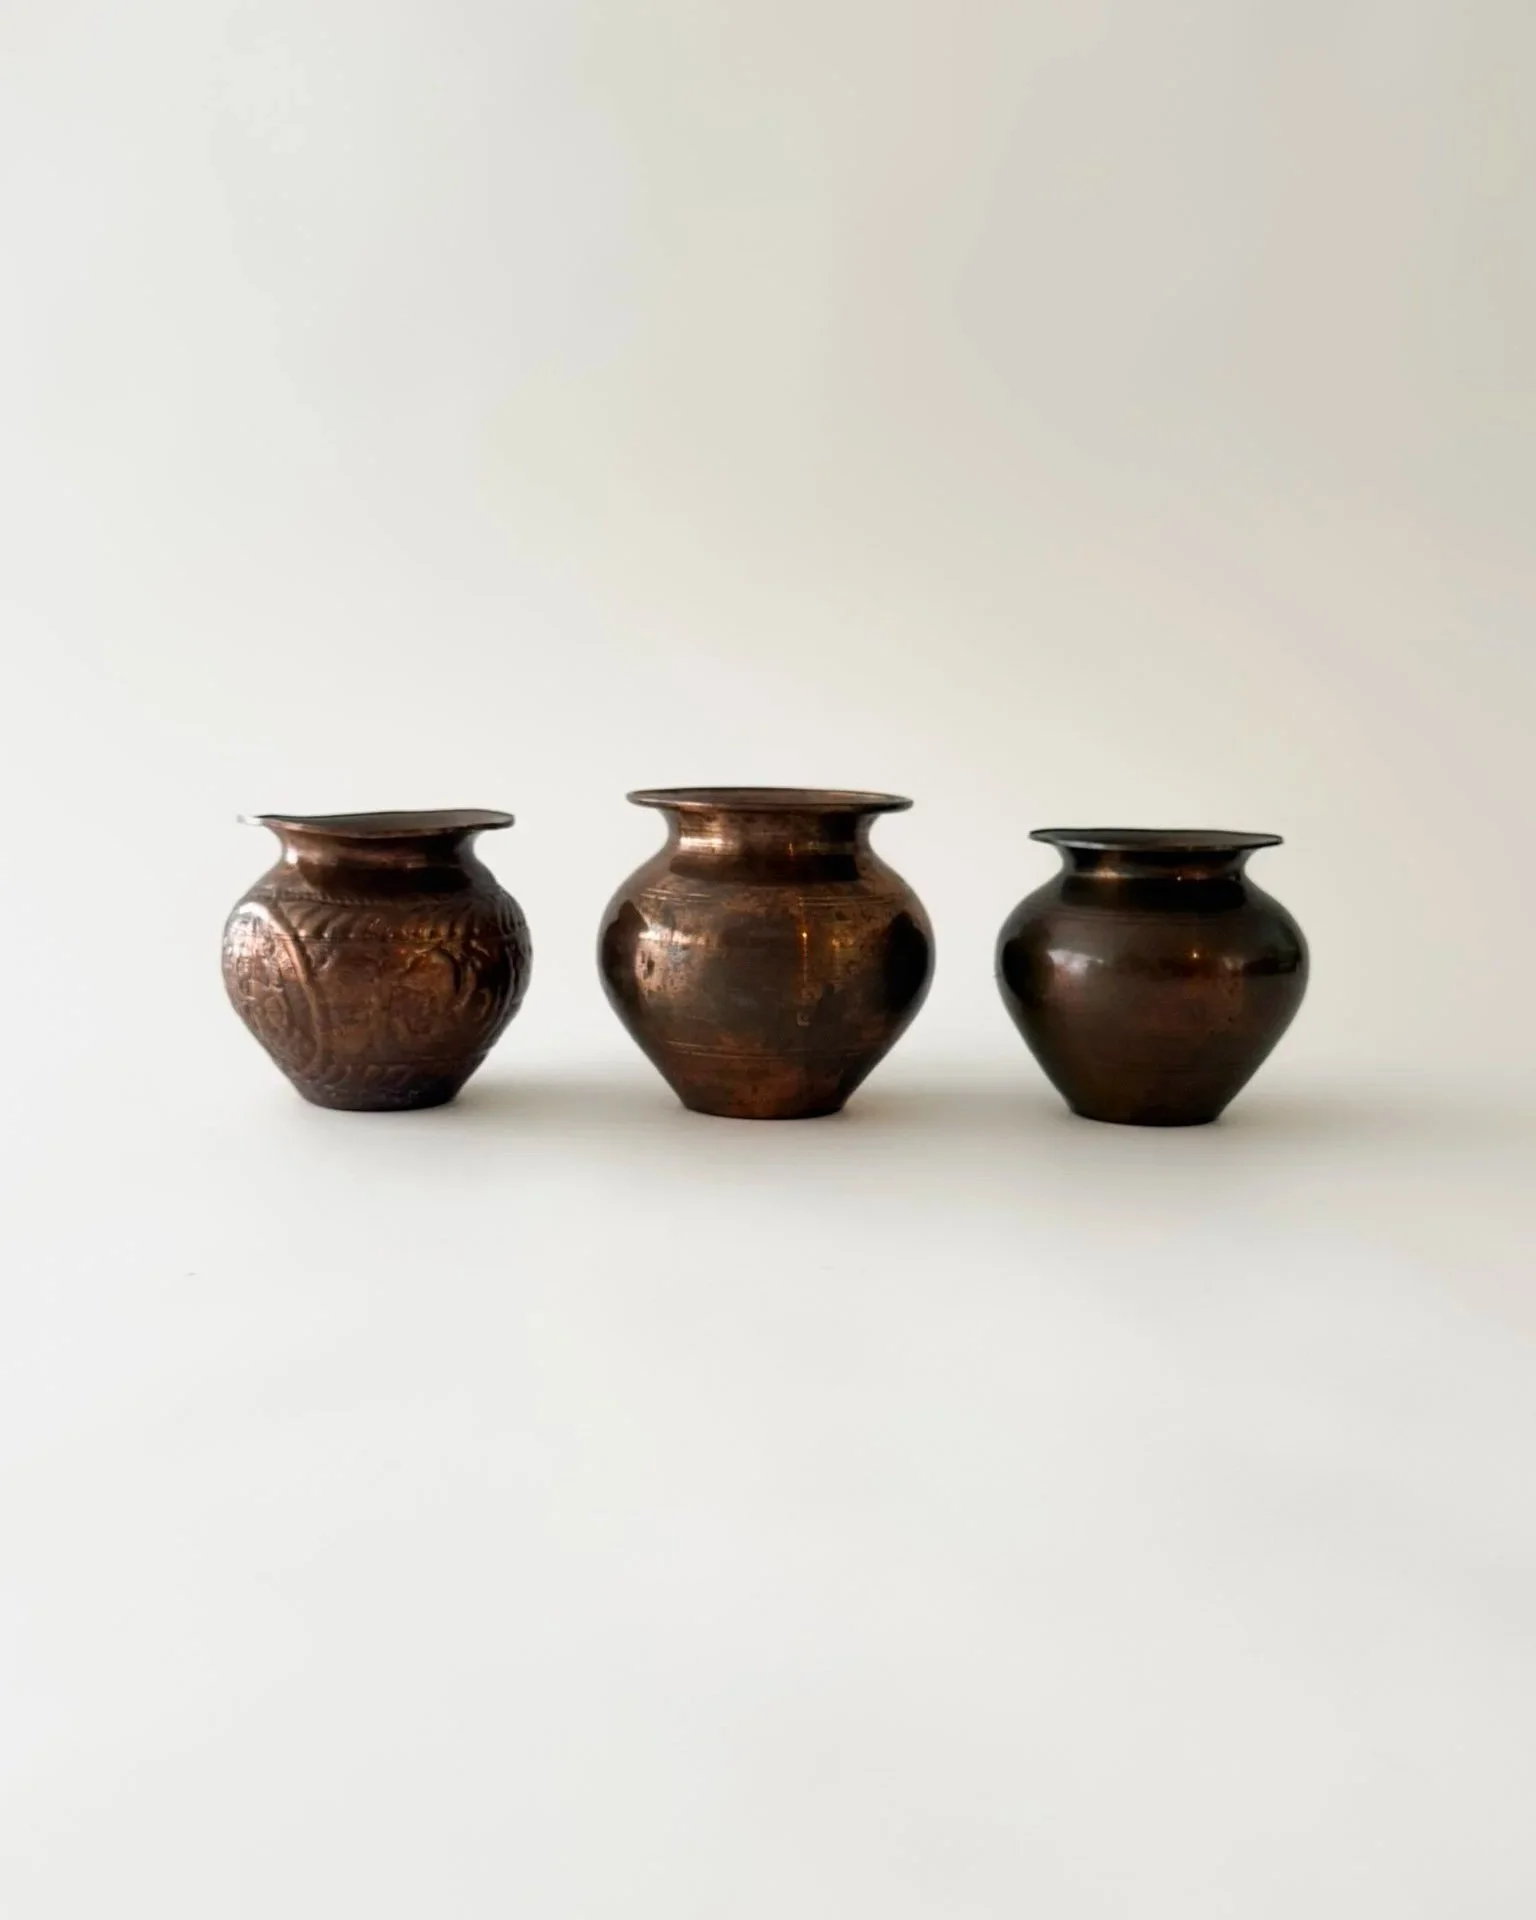
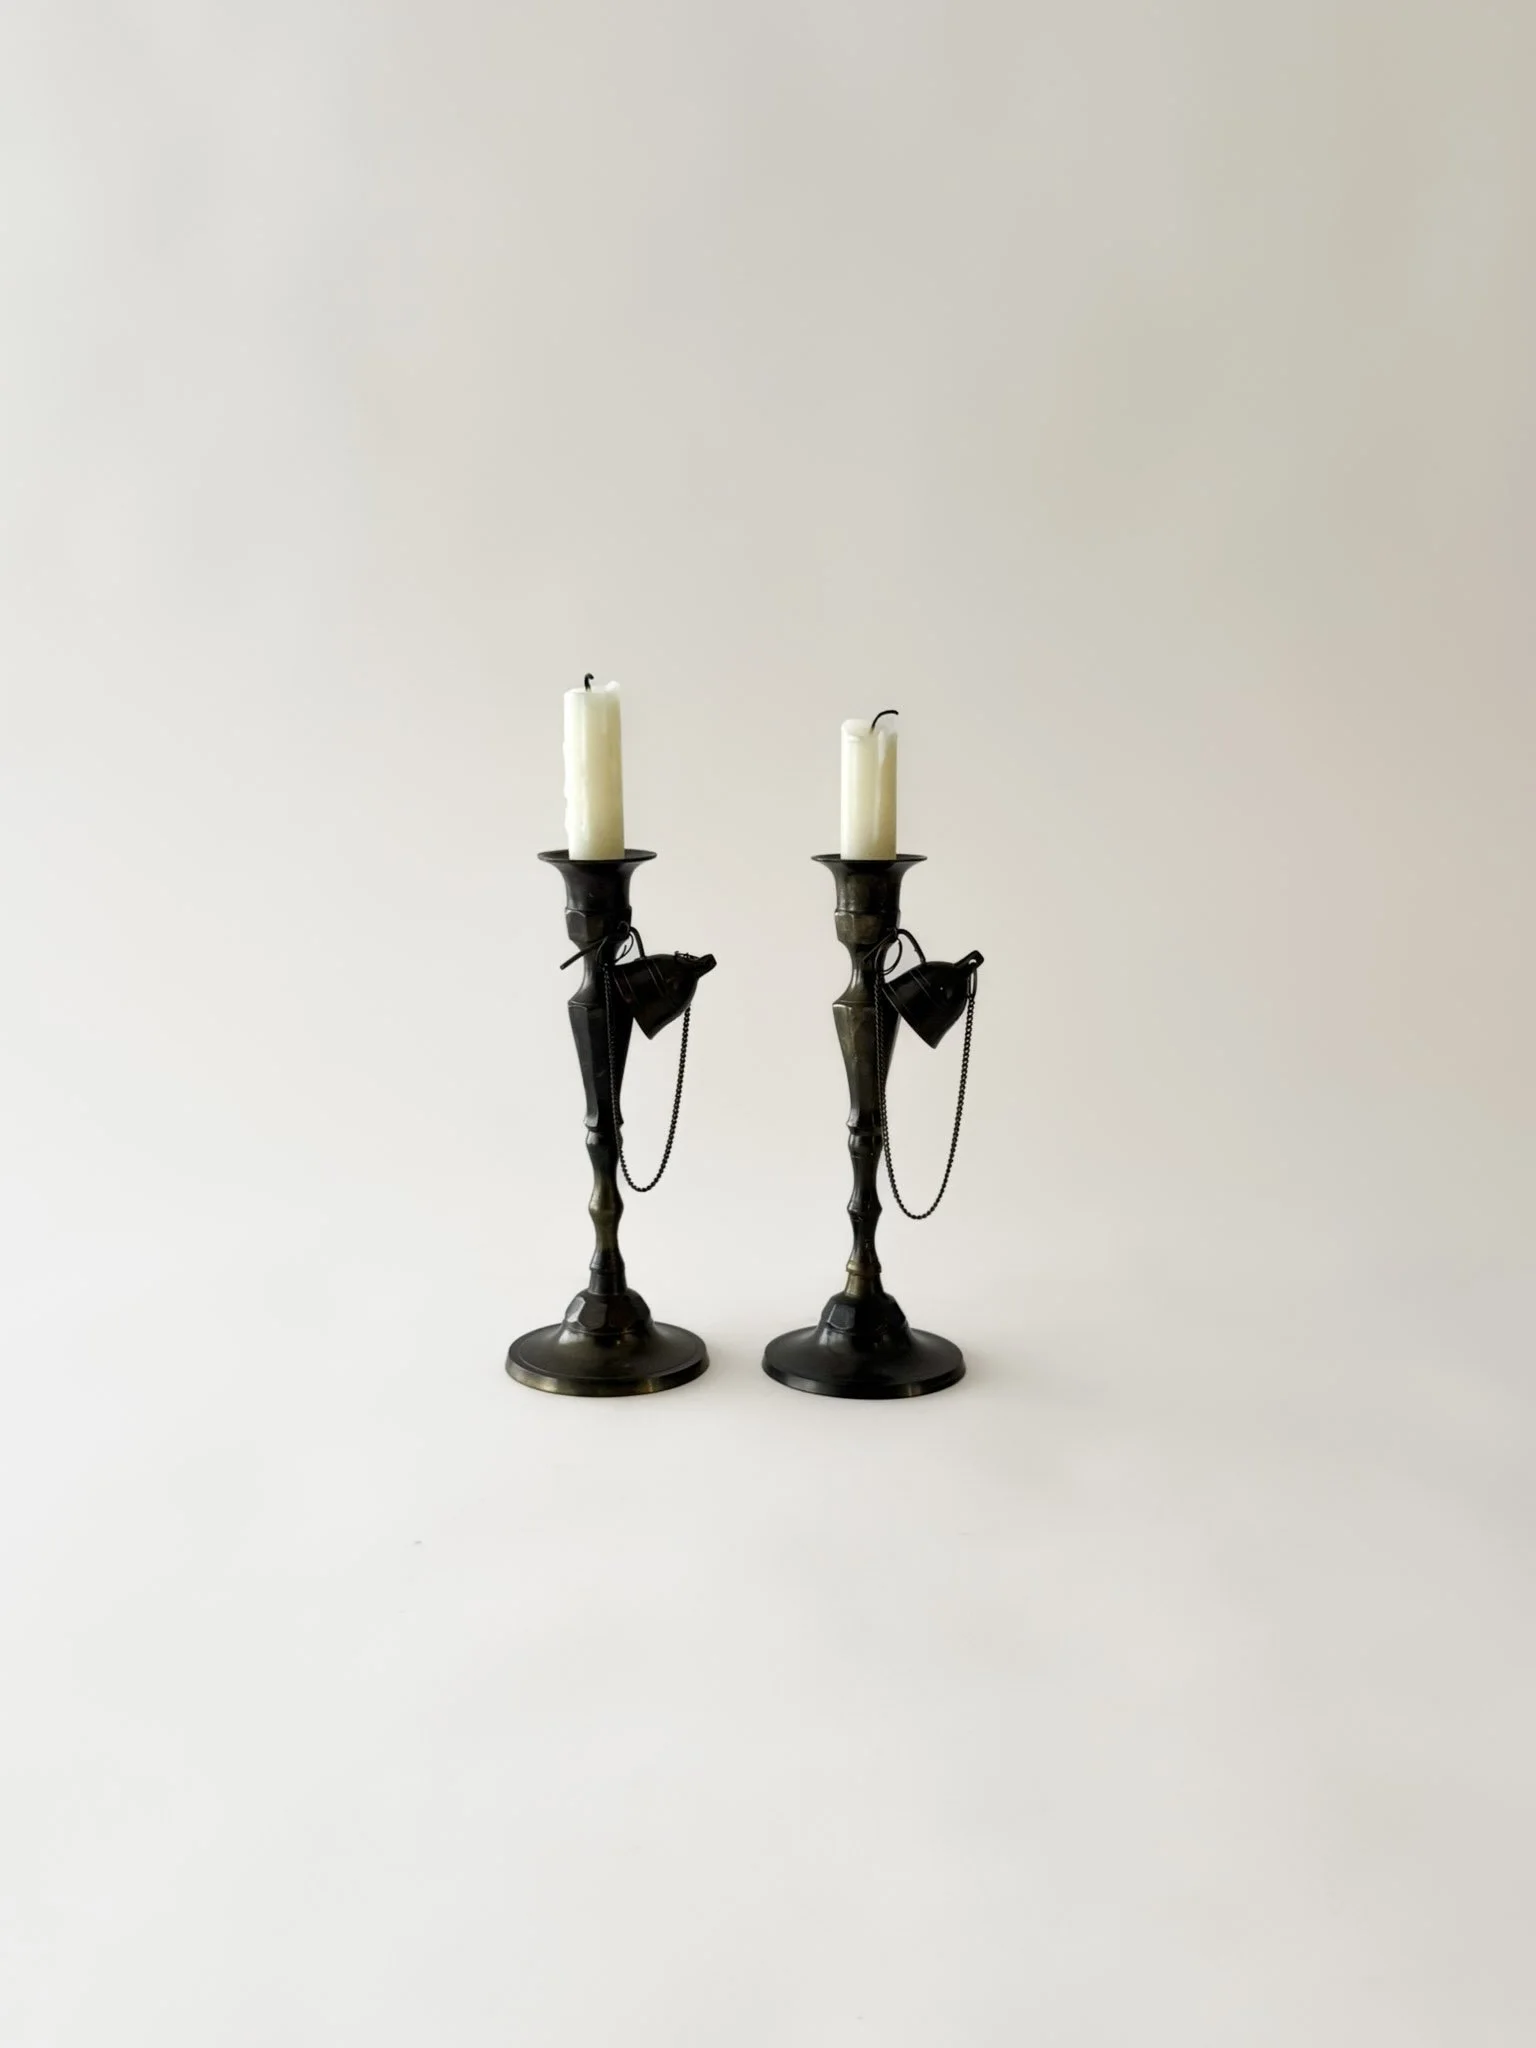
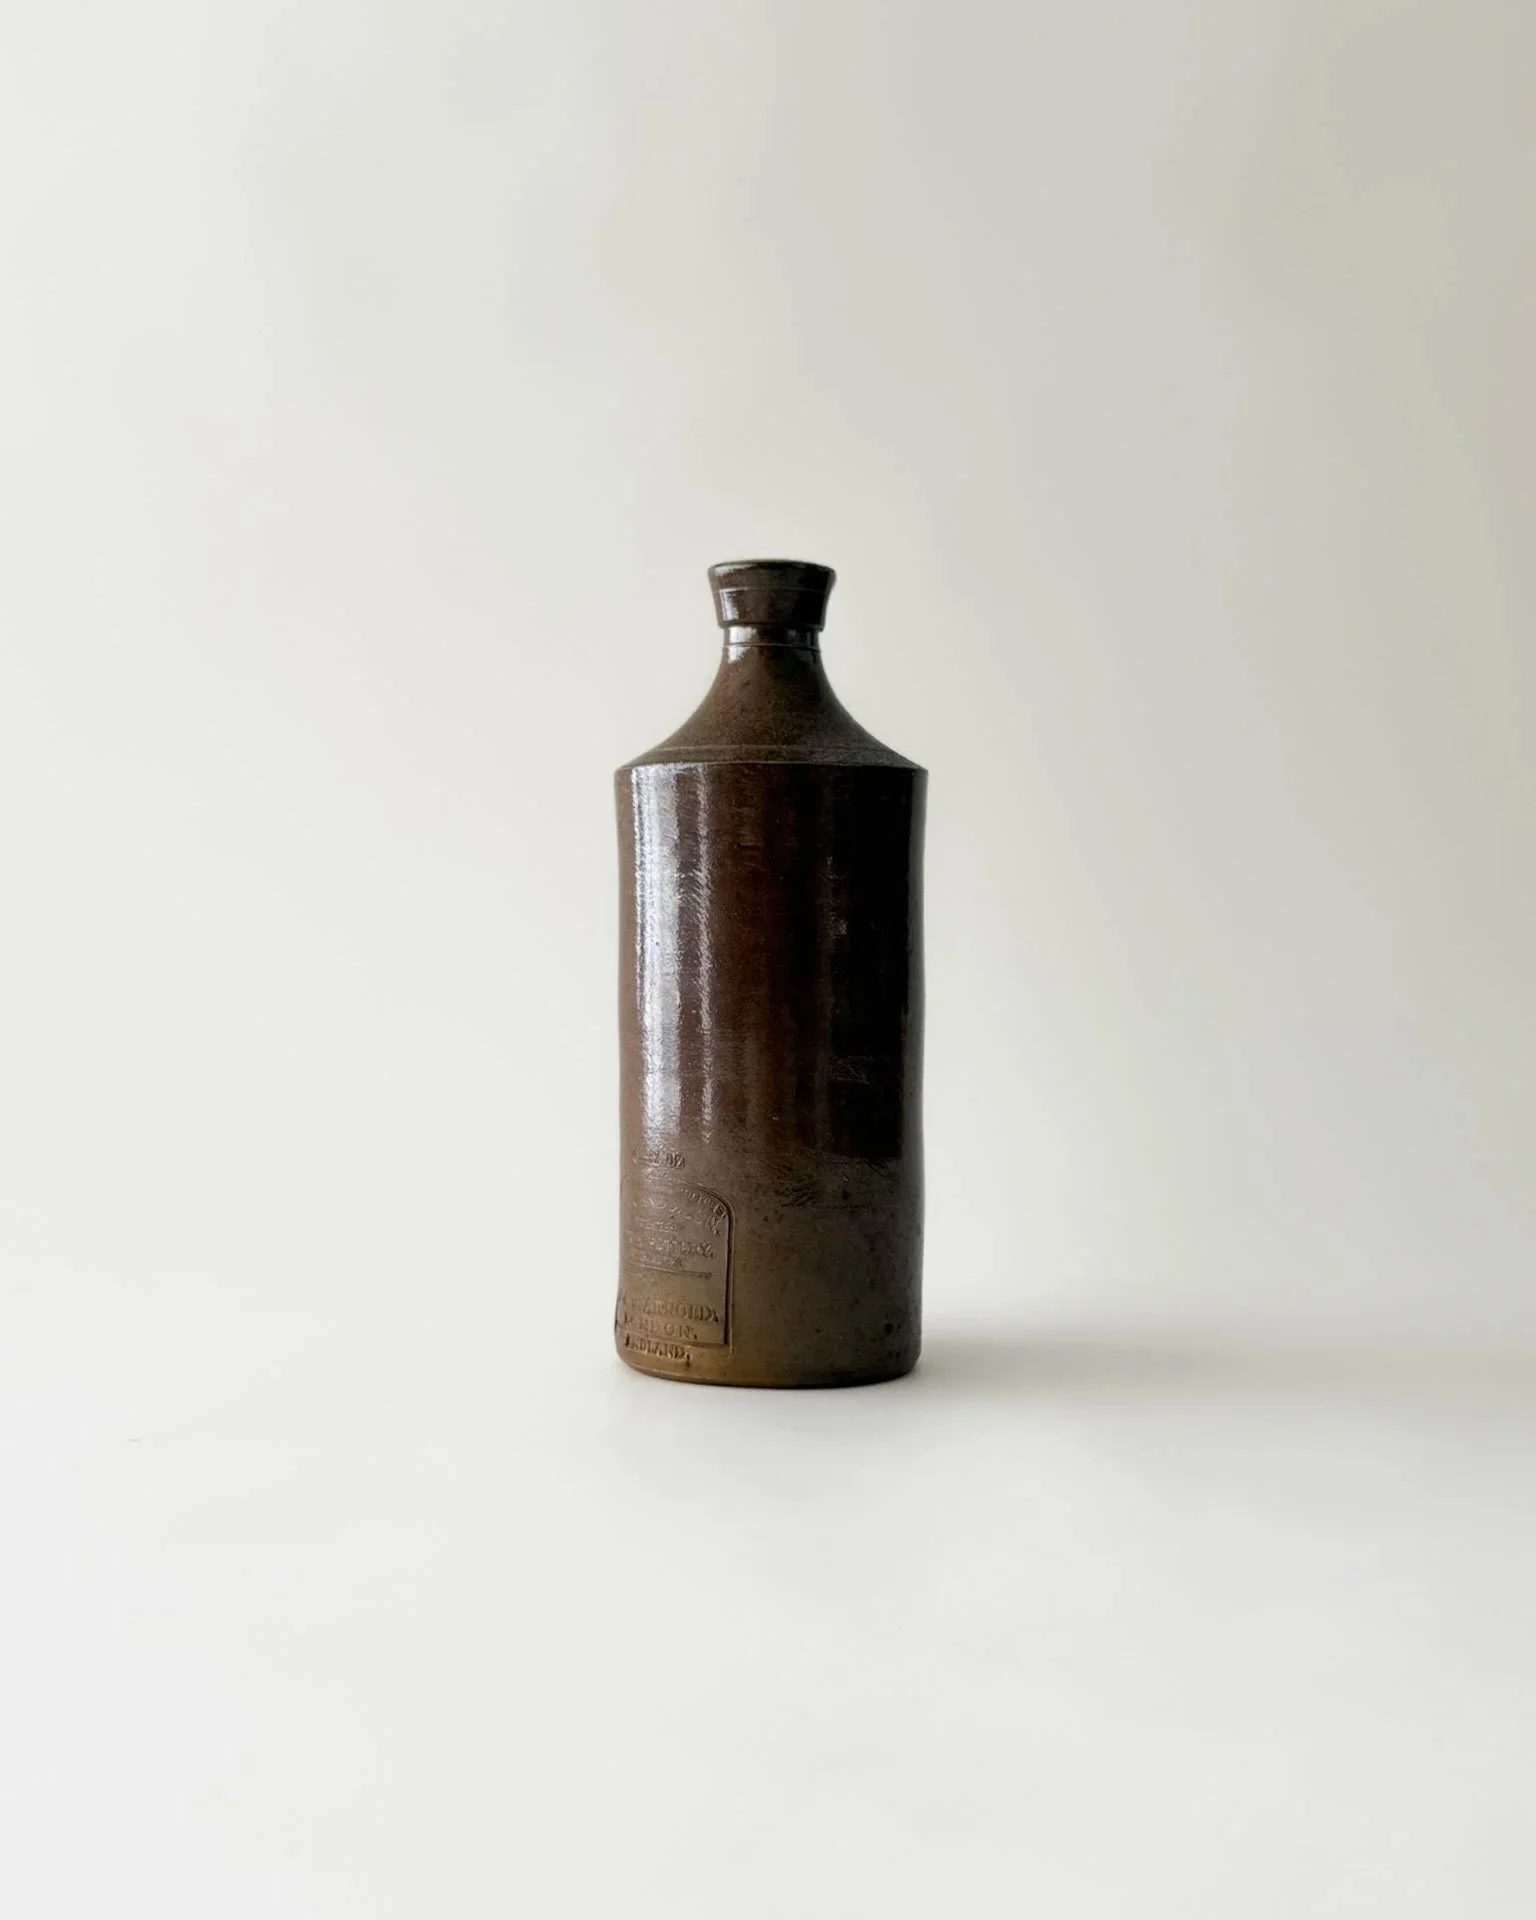
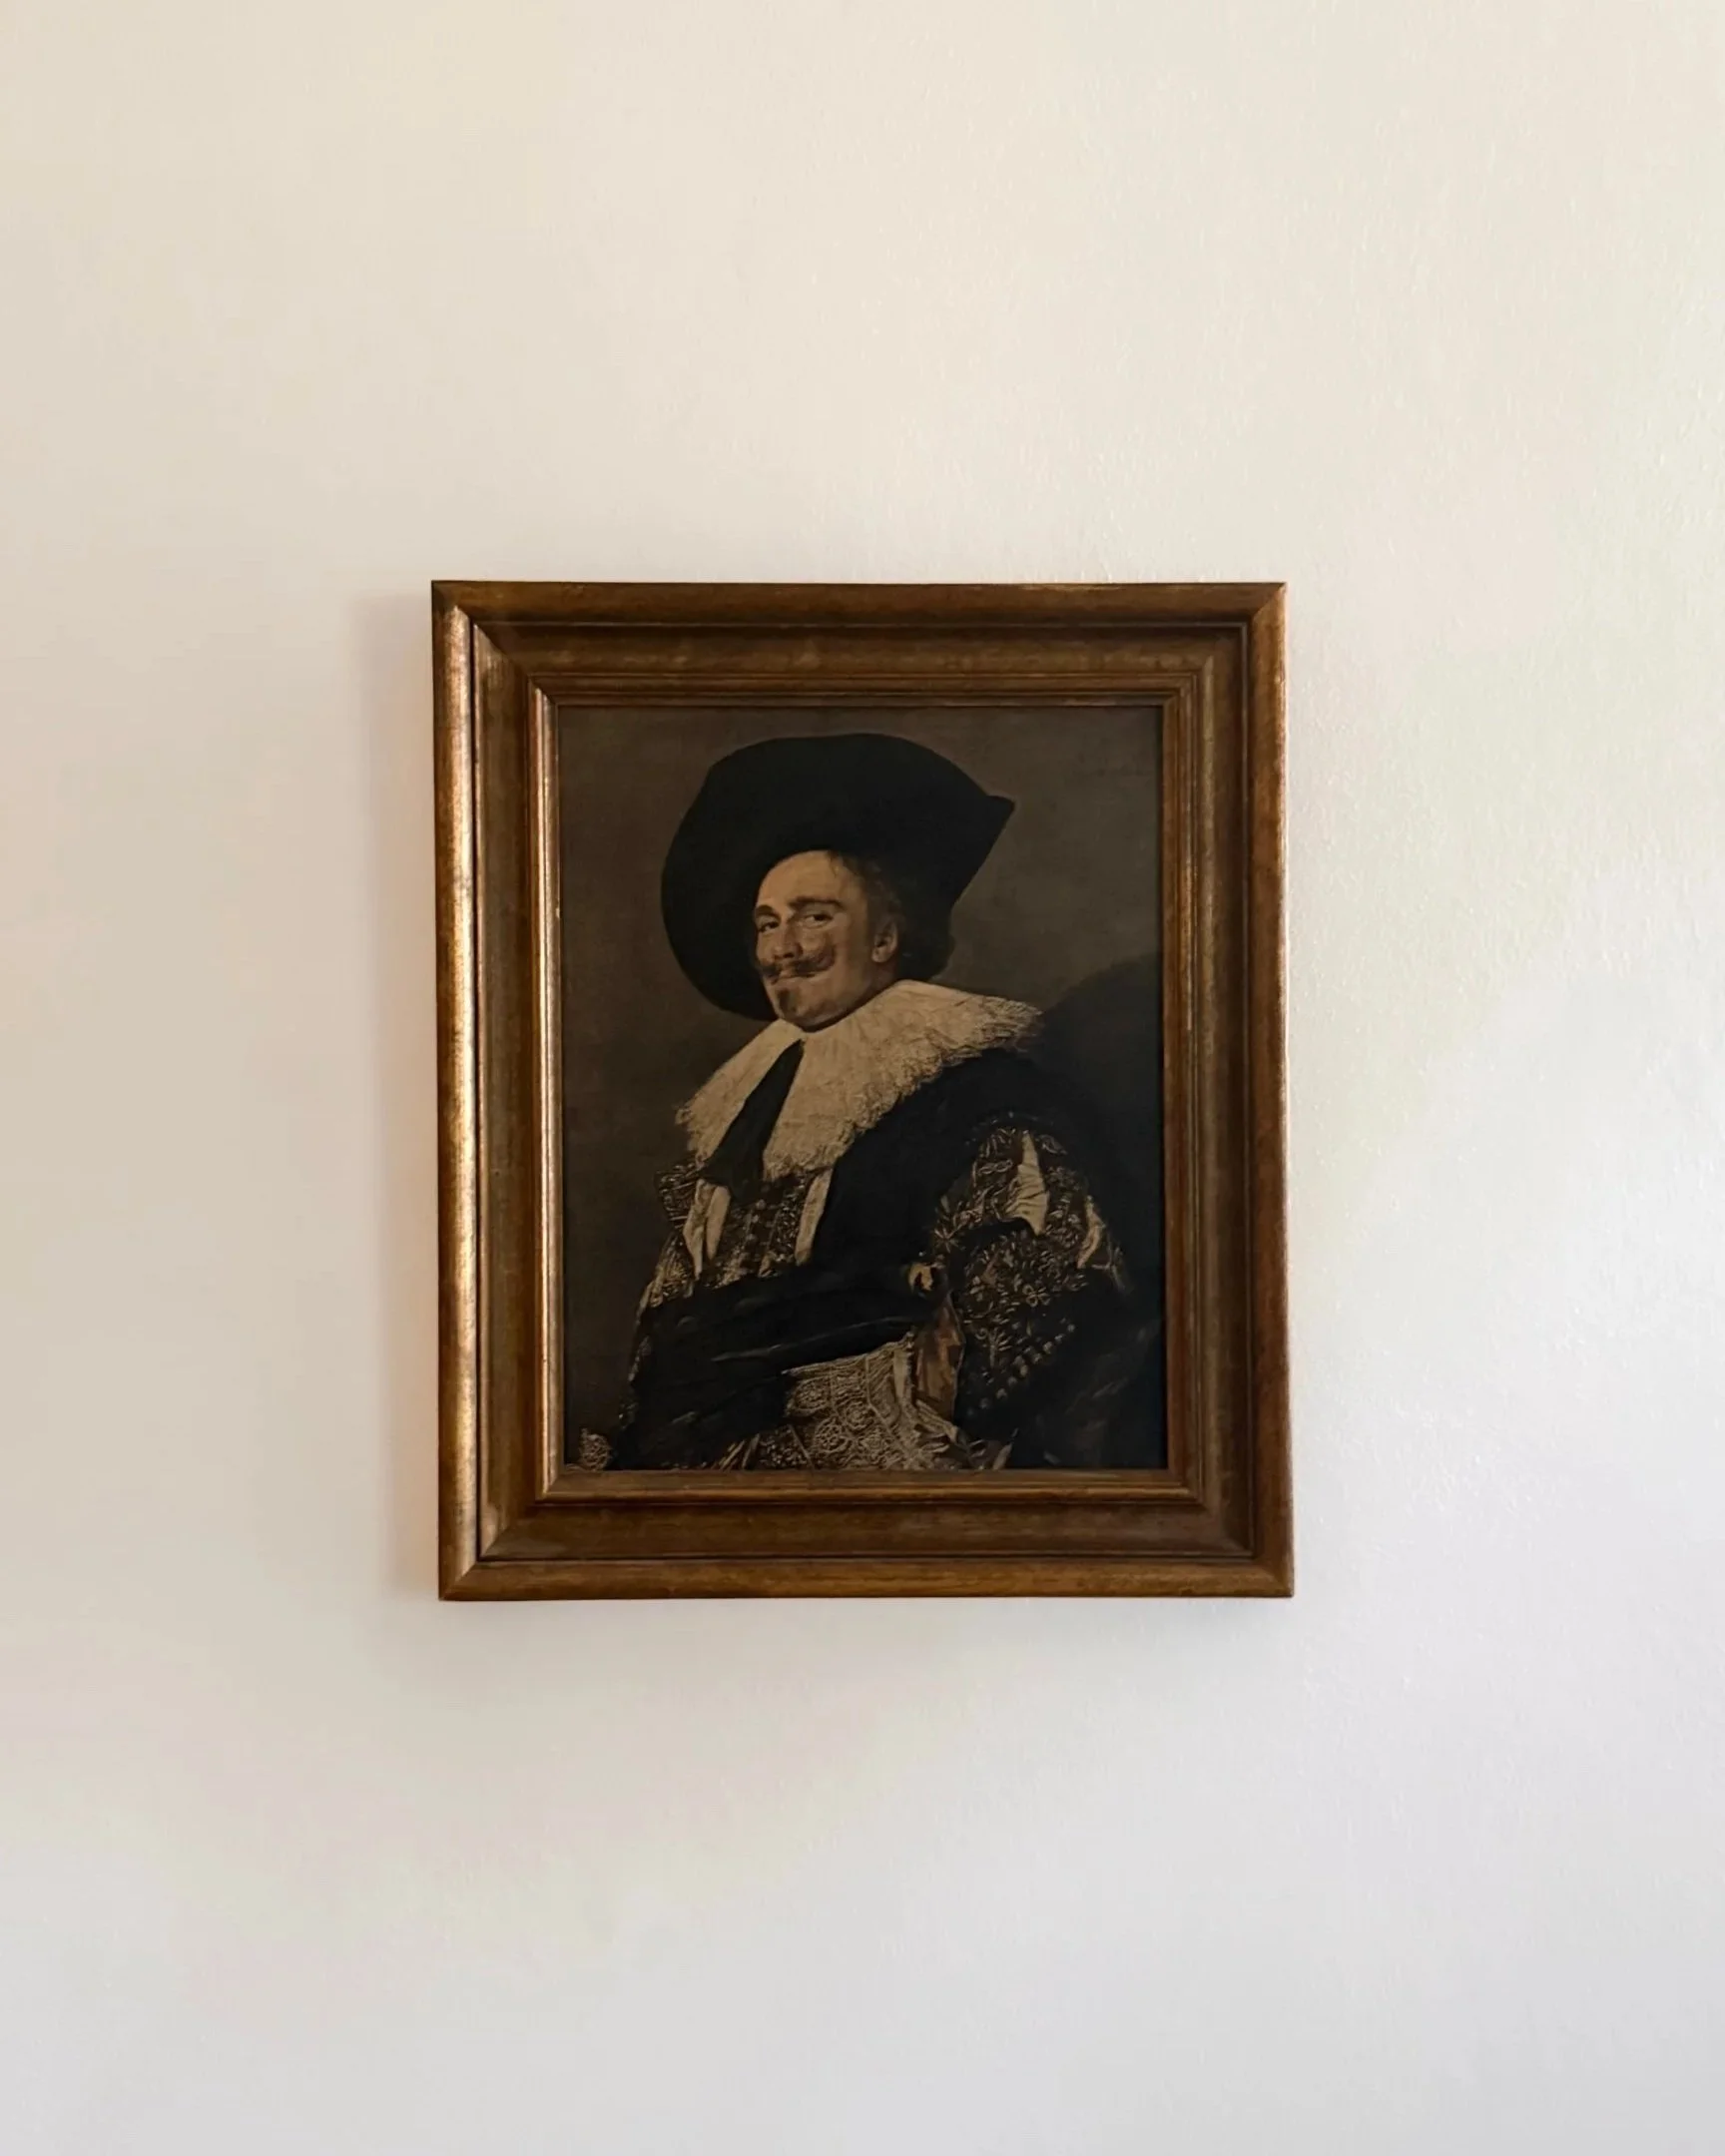
Add a Touch of Vintage Charm
Shop our full collection of vintage objects, thoughtfully curated to bring classic style and lived-in luxury to your home.


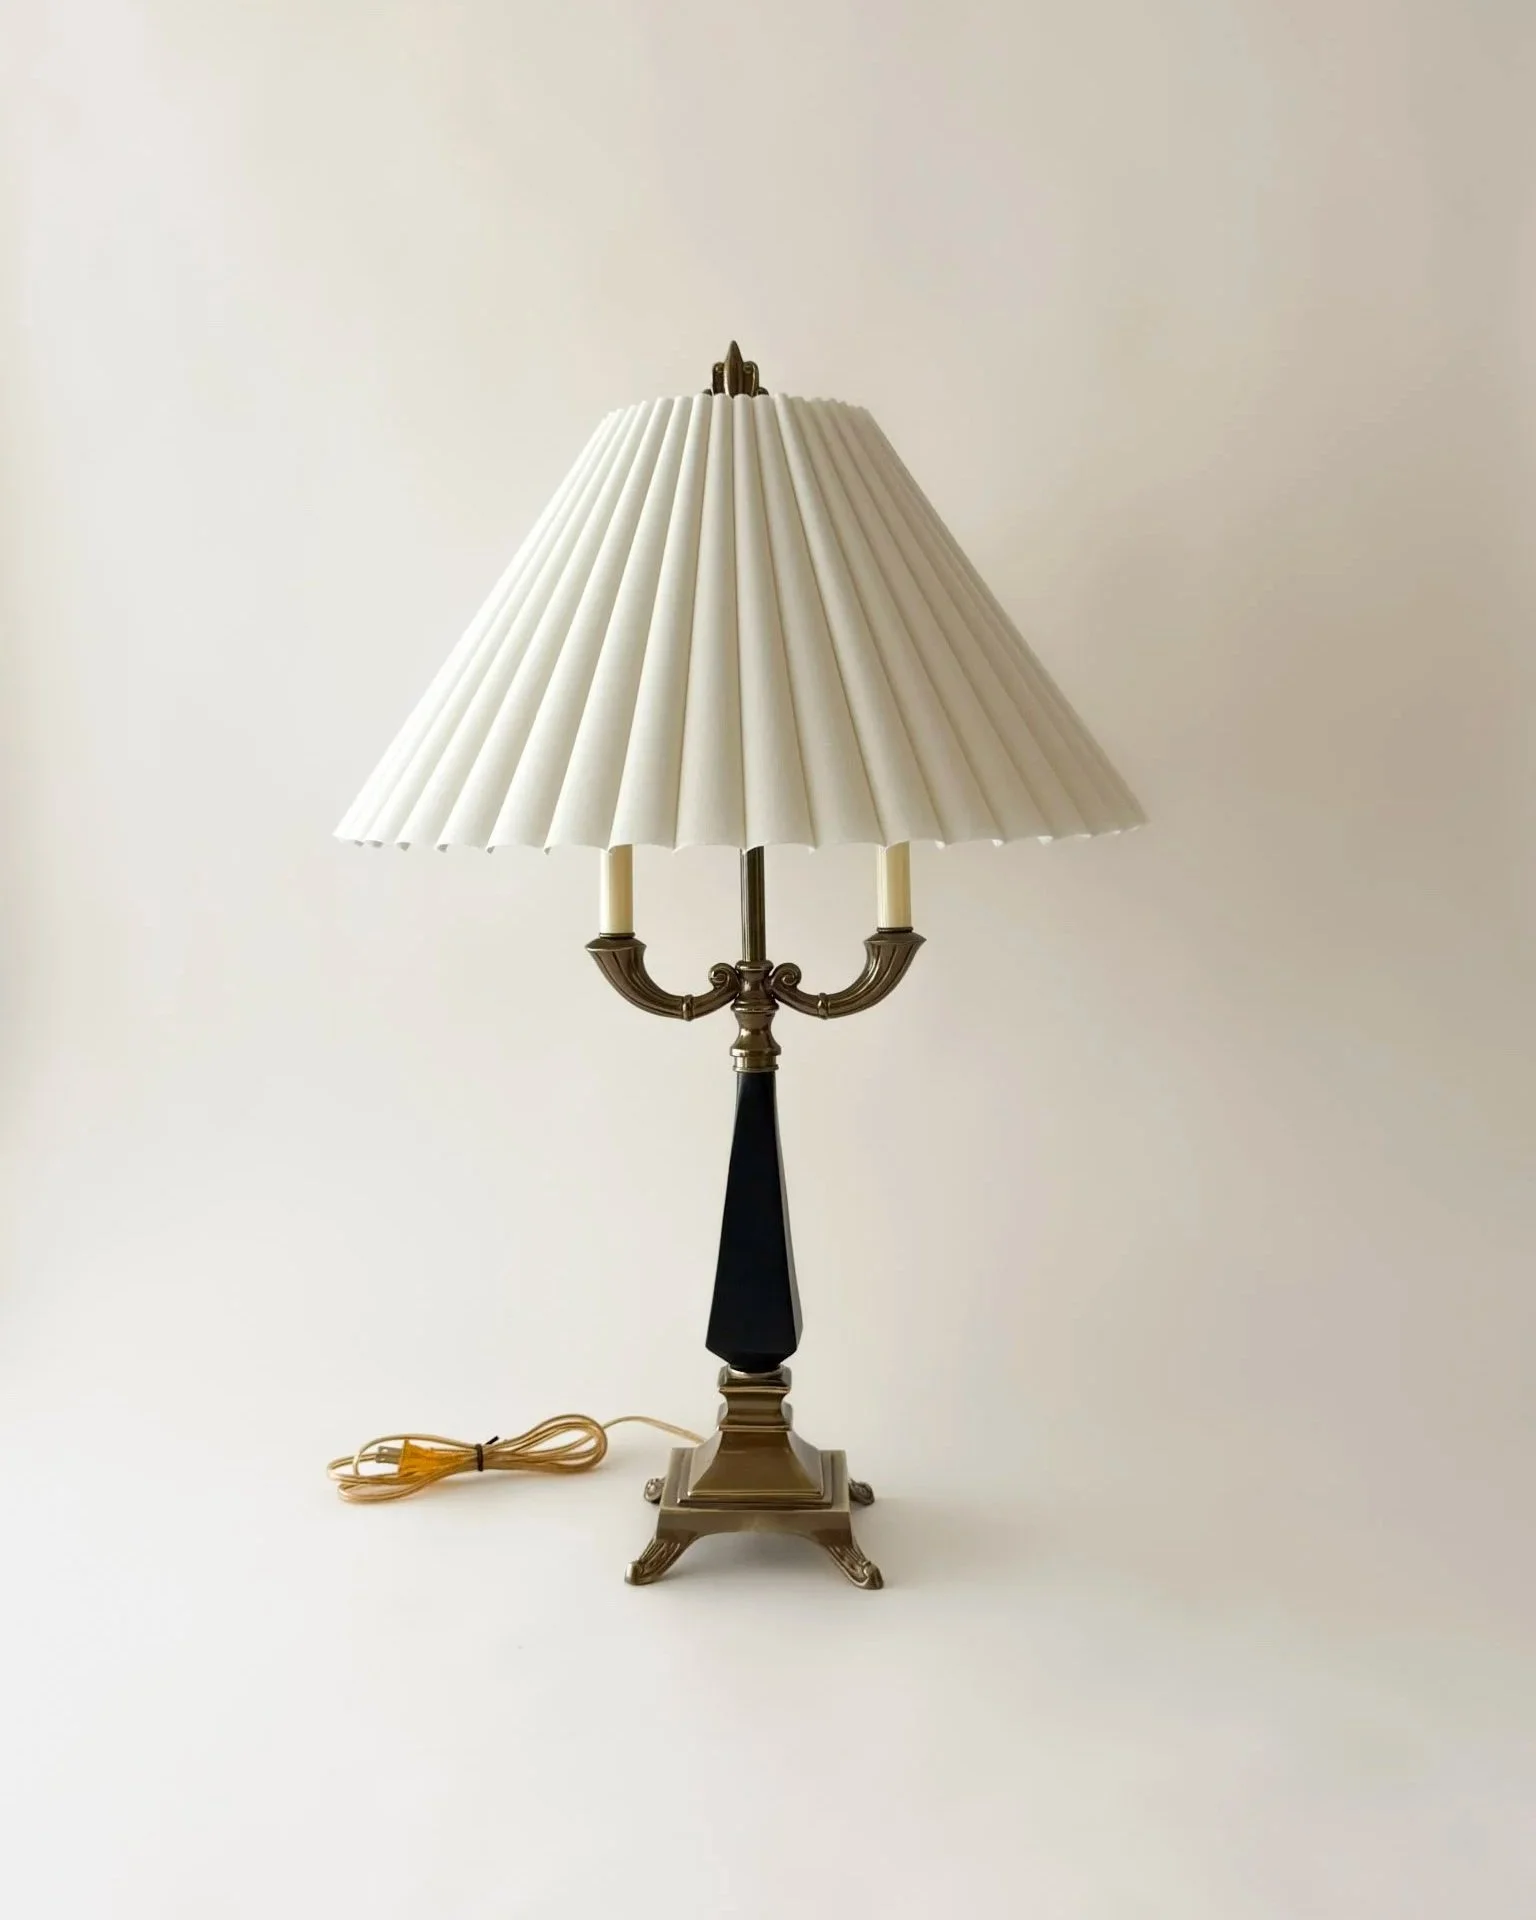
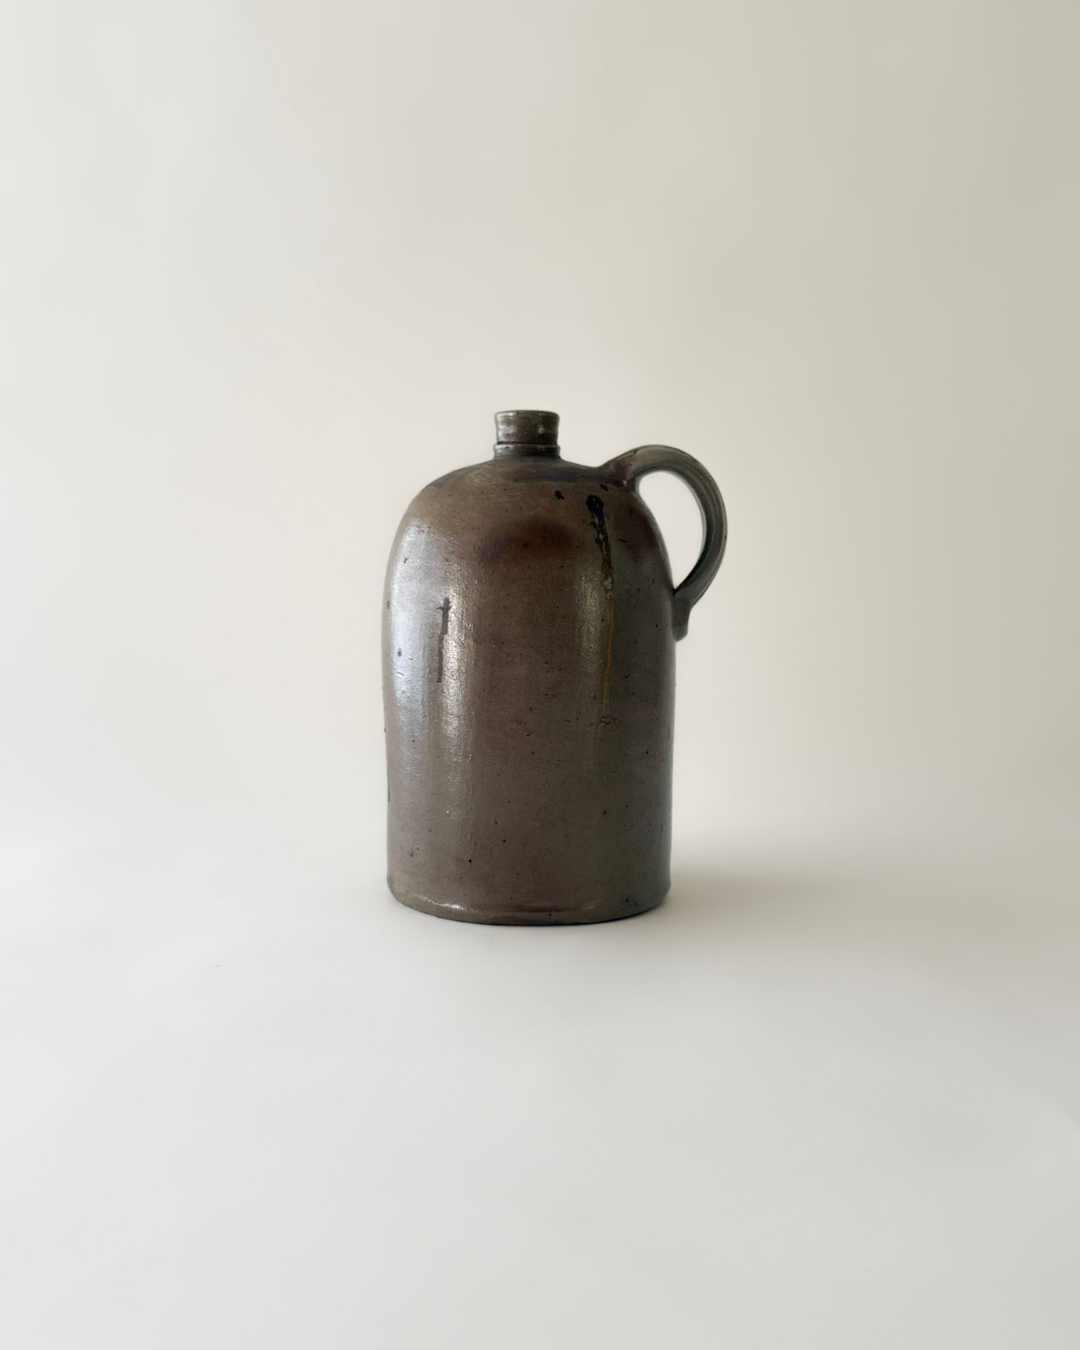
Our Exclusive Classic + Collected Series
Our Classic + Collected series of product guides is a REFUGE INTERIORS exclusive featuring curated pieces designed to pair with vintage objects from the shop to achieve our signature aesthetic. 🤎


